MLOps - Containerize Classifier Application
- Last post we were able to build and train the pneumonia classifier model.
- In this post we are moving a step forward to: Containerizing the model and creating a frontend-backend application to allow users to upload images and get predictions.
Overview of the Application Architecture
A high-level diagram or description of the system architecture:
- Backend: A Dockerized Flask/FastAPI application serving the trained model.
- Frontend: A Dockerized React/Streamlit app for image upload and displaying predictions.
- Interaction: Frontend sends images to the backend, which processes them and returns predictions.
Step 1: Containerizing the Backend
- Objective: Package the trained model into a Docker container.
- Steps:
- Save the Model: Ensure the trained model is saved (e.g., local_image_classifier_model.pth).
- Create a Flask/FastAPI App: Write a simple API endpoint to accept image uploads and return predictions. Example: /predict endpoint.
- Dockerize the Backend: Write a Dockerfile for the backend. Build and run the Docker container.
- Test the Backend: Use tools like curl or Postman to test the API.
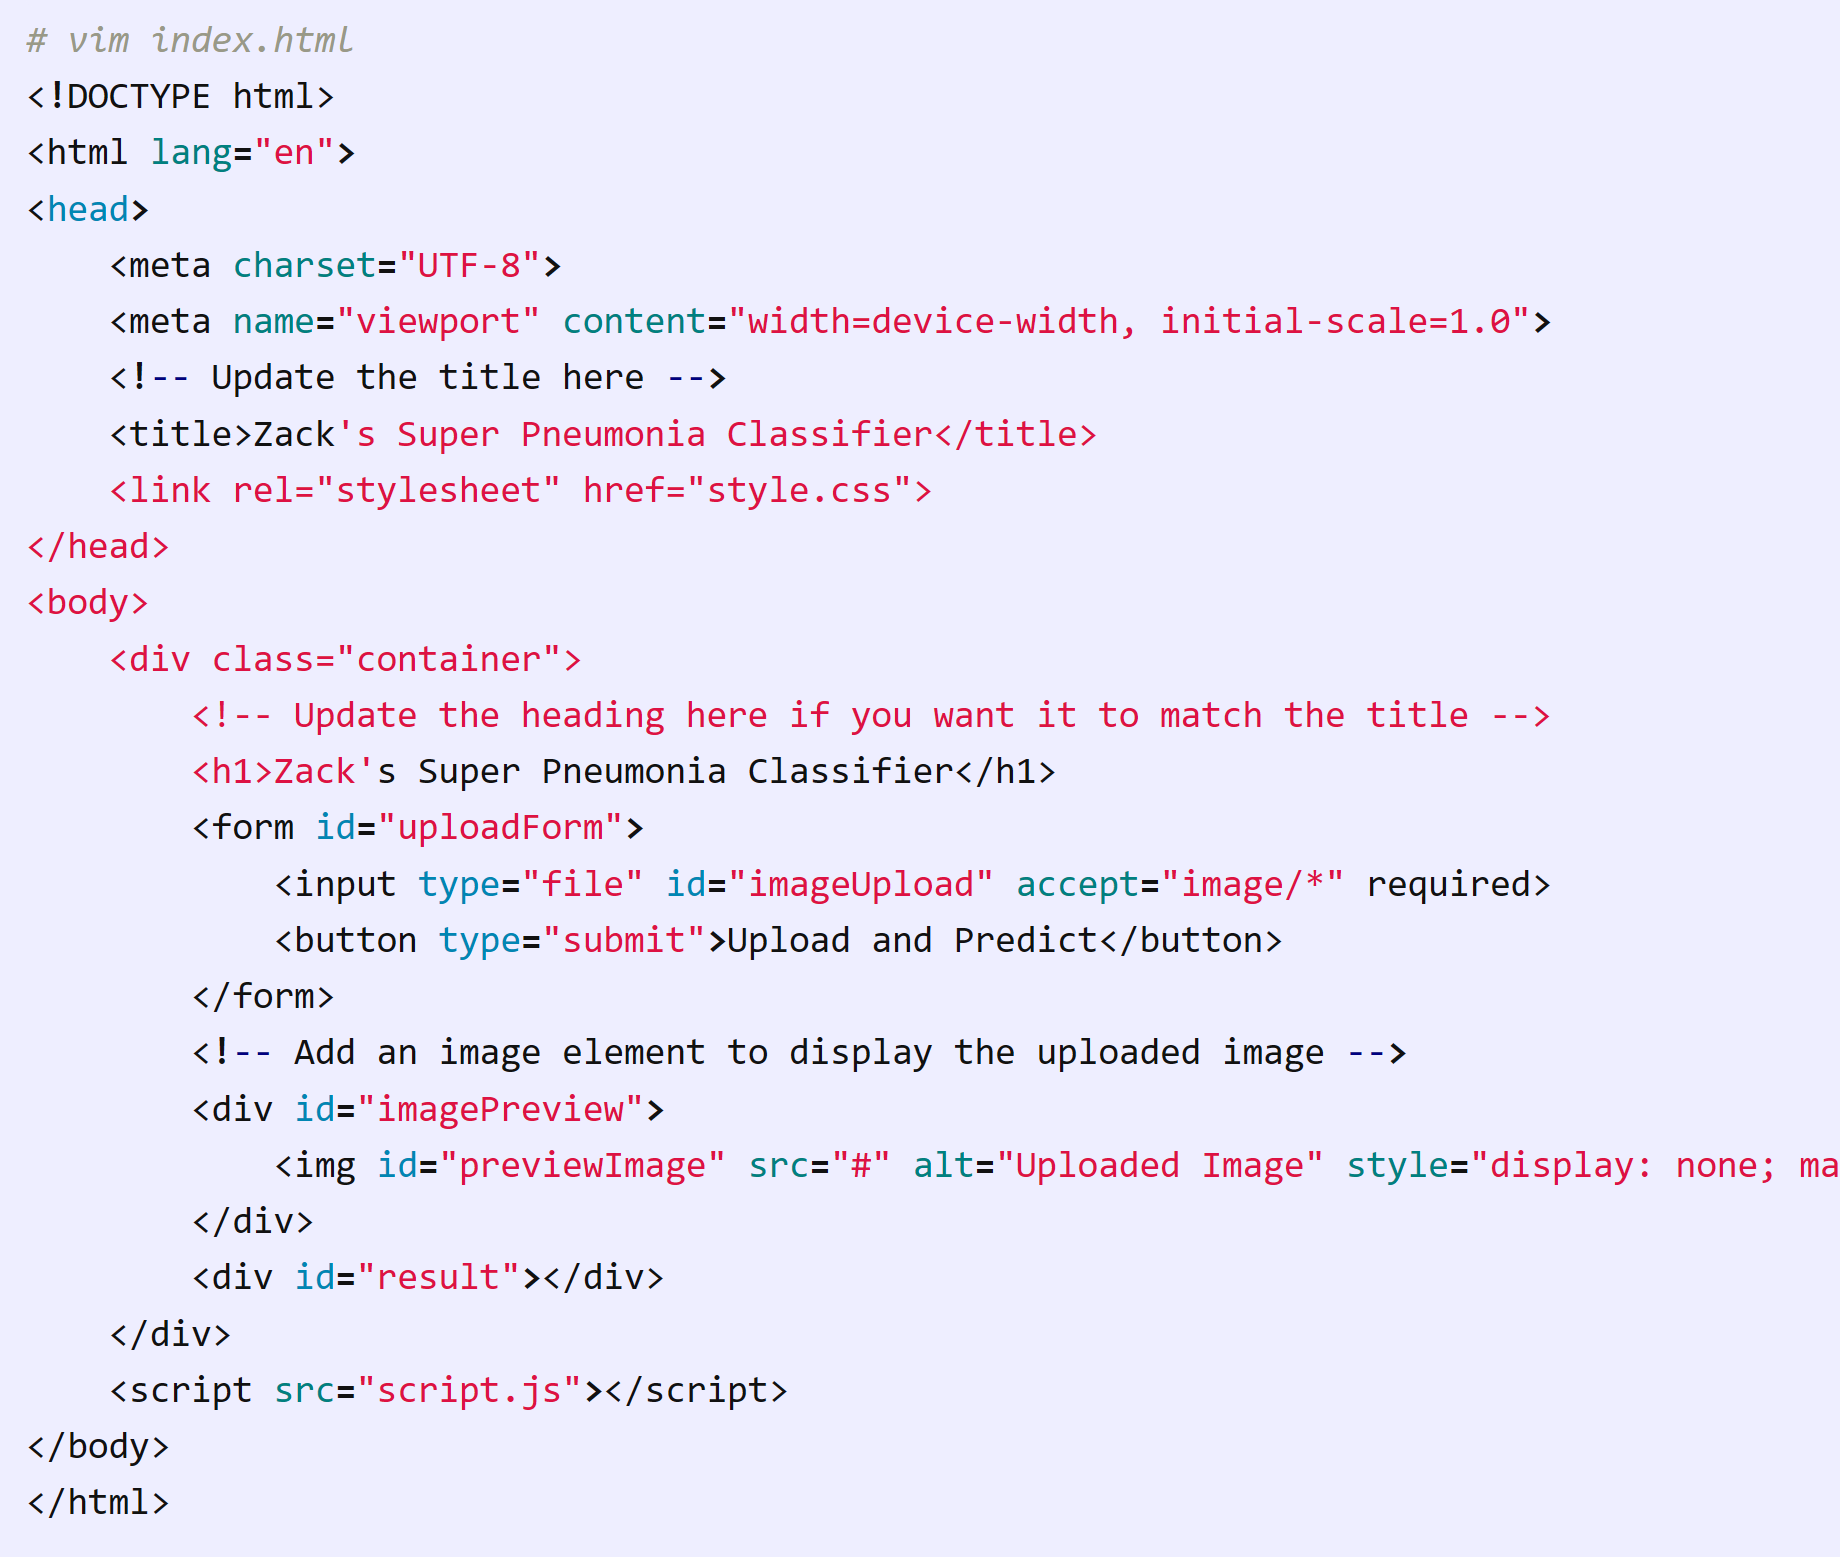
# build folder structure for frontend and backend applications
root@zackz:/mnt/f/zack-gitops-project/image-class# tree
.
├── StartingNotebook.ipynb
├── cv1.ipynb
├── cv1.py
├── docker-compose.yml
├── frontend
│   ├── Dockerfile
│   ├── index.html
│   ├── script.js
│   └── style.css
└── model-docker
    ├── Dockerfile
    ├── app.py
    ├── local_image_classifier_model.pth
    └── requirements.txt
==========================================================
# vim requirements.txt
Flask==2.3.2
torch==2.0.1
torchvision==0.15.2
Pillow==10.0.0
numpy<2
flask-cors==4.0.0
# vim app.py
from flask import Flask, request, jsonify
from flask_cors import CORS  # Import CORS
import torch
from torchvision import transforms
from PIL import Image
import torch.nn as nn
import torchvision.models as models

# Initialize Flask app
app = Flask(__name__)
CORS(app)  # Enable CORS for all routes

# Load the trained model
model = models.resnet18(pretrained=False)
model.fc = nn.Linear(model.fc.in_features, 1)
model.load_state_dict(torch.load("local_image_classifier_model.pth", map_location=torch.device('cpu')))
model.eval()

# Define the same transformations used during training
transform = transforms.Compose([
    transforms.Resize((224, 224)),
    transforms.ToTensor(),
    transforms.Normalize(mean=[0.485, 0.456, 0.406], std=[0.229, 0.224, 0.225])
])

# Prediction function
def predict_image(image_path):
    image = Image.open(image_path).convert('RGB')
    image = transform(image).unsqueeze(0)
    with torch.no_grad():
        output = model(image)
        prediction = torch.sigmoid(output).item()
    return "Pneumonia (Positive)" if prediction > 0.5 else "Normal (Negative)"

# Define the endpoint
@app.route('/predict', methods=['POST'])
def predict():
    if 'file' not in request.files:
        return jsonify({"error": "No file provided"}), 400

    file = request.files['file']
    if file.filename == '':
        return jsonify({"error": "No file selected"}), 400

    # Save the uploaded file temporarily
    file_path = "temp_image.jpeg"
    file.save(file_path)

    # Make a prediction
    result = predict_image(file_path)
    return jsonify({"prediction": result})

# Run the Flask app
if __name__ == '__main__':
    app.run(host='0.0.0.0', port=5000)
==========================================================
# vim Dockerfile
# Use an official Python runtime as a parent image
FROM python:3.9-slim

# Set the working directory in the container
WORKDIR /app

# Copy the requirements file into the container
COPY requirements.txt .

# Install any needed packages specified in requirements.txt
RUN pip install --no-cache-dir -r requirements.txt

# Copy the current directory contents into the container
COPY . .

# Copy the model file into the container
COPY local_image_classifier_model.pth .

# Expose port 5000 for the Flask app
EXPOSE 5000

# Run the Flask app
CMD ["python", "app.py"]
==========================================================
# build image
docker build -t pneumonia-classifier-1 .
Step 2: Building the Frontend
- Objective: Create a user-friendly interface for uploading images and displaying predictions.
- Steps:
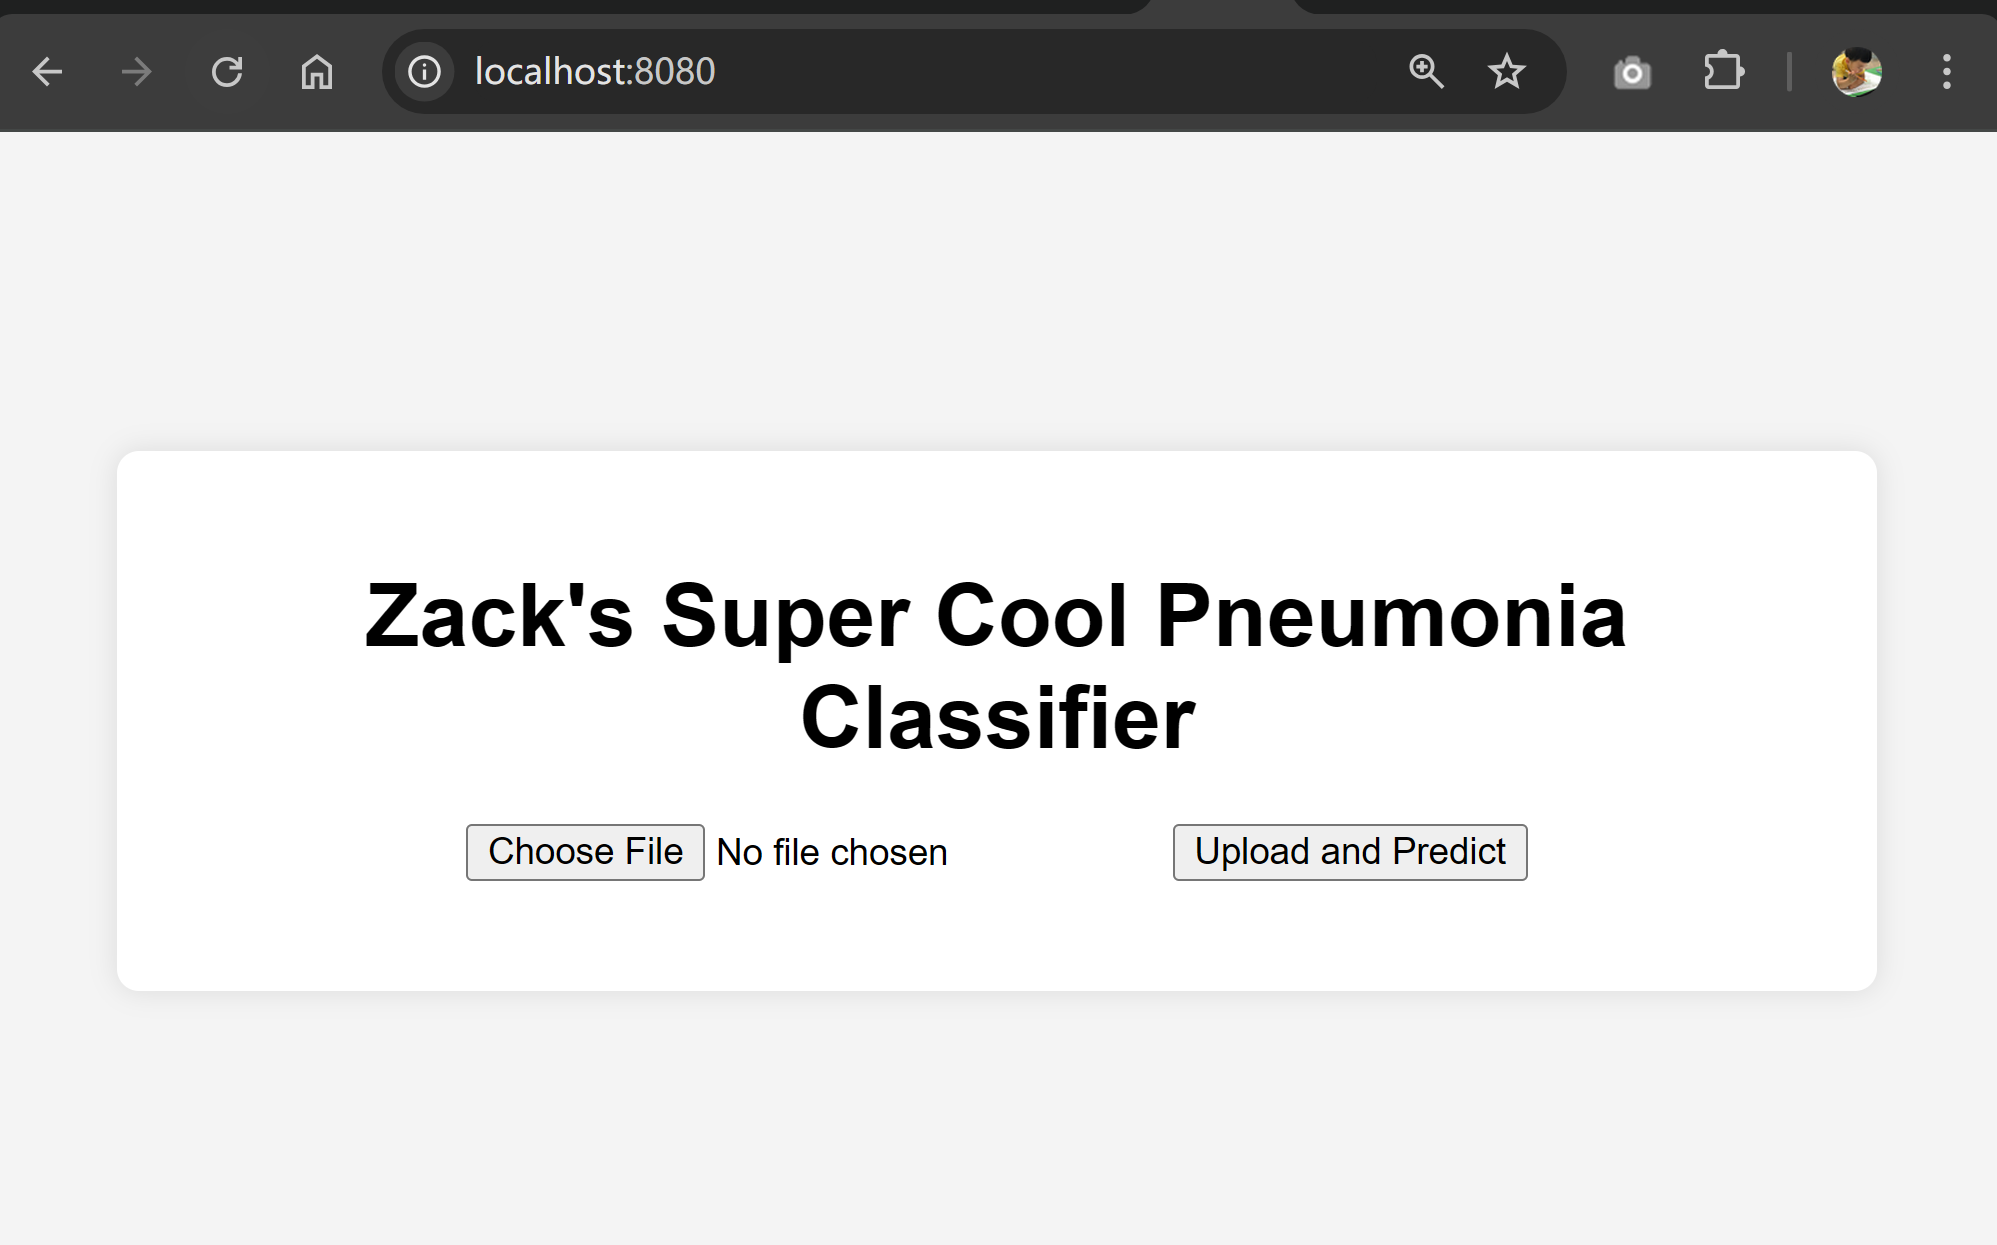
- Create the Frontend App: React as framework, When a user selects an image, the FileReader API reads the file and displays it in the #previewImage element. When the form is submitted, the selected image is sent to the backend API (http://localhost:5000/predict) using a POST request. The image is sent as multipart/form-data. API Response Handling: If the API call is successful, the prediction result is displayed in the #result div. If there’s an error (e.g., no file selected or API failure), an error message is displayed.
- Dockerize the Frontend: Write a Dockerfile for the frontend. Build and run the Docker container.
==========================================================
# vim script.js

body {
    font-family: Arial, sans-serif;
    background-color: #f4f4f4;
    display: flex;
    justify-content: center;
    align-items: center;
    height: 100vh;
    margin: 0;
}

.container {
    background: white;
    padding: 20px;
    border-radius: 8px;
    box-shadow: 0 0 10px rgba(0, 0, 0, 0.1);
    text-align: center;
    max-width: 600px;
    width: 100%;
}

h1 {
    margin-bottom: 20px;
}

form {
    margin-bottom: 20px;
}

#imagePreview {
    margin-top: 20px;
}

#result {
    margin-top: 20px;
    font-size: 1.2em;
    color: #333;
}
==========================================================
# vim script.js
document.getElementById('imageUpload').addEventListener('change', function (e) {
    const file = e.target.files[0];
    if (file) {
        const reader = new FileReader();
        reader.onload = function (e) {
            const previewImage = document.getElementById('previewImage');
            previewImage.src = e.target.result;
            previewImage.style.display = 'block'; // Show the image
        };
        reader.readAsDataURL(file); // Read the file as a data URL
    }
});

document.getElementById('uploadForm').addEventListener('submit', async function (e) {
    e.preventDefault();

    const fileInput = document.getElementById('imageUpload');
    const resultDiv = document.getElementById('result');

    if (fileInput.files.length === 0) {
        resultDiv.textContent = 'Please select an image.';
        return;
    }

    const file = fileInput.files[0];
    const formData = new FormData();
    formData.append('file', file);

    try {
        const response = await fetch('http://localhost:5000/predict', {
            method: 'POST',
            body: formData,
        });

        if (!response.ok) {
            throw new Error('Failed to get prediction');
        }

        const data = await response.json();
        resultDiv.textContent = `Prediction: ${data.prediction}`;
    } catch (error) {
        resultDiv.textContent = 'Error: ' + error.message;
    }
});
==========================================================
# vim Dockerfile

# Use an official Nginx image as the base image
FROM nginx:alpine

# Copy the frontend files to the Nginx HTML directory
COPY . /usr/share/nginx/html

# Expose port 80 for the web server
EXPOSE 80

# Start Nginx when the container runs
CMD ["nginx", "-g", "daemon off;"]
==========================================================
# build the image
docker build -t pneumonia-frontend  .
Step 3: Connecting Frontend and Backend
- Objective: Make the frontend and backend communicate seamlessly.
- Steps:
- Network Configuration: Use Docker Compose to manage both containers. Ensure the frontend can reach the backend API.
- End-to-End Testing: Upload an image via the frontend and verify the prediction is displayed correctly.
==========================================================
# vim docker-compose.yml

version: '3.8'
services:
  backend:
    image: pneumonia-classifier-1
    ports:
      - "5000:5000"
    networks:
      - pneumonia-net

  frontend:
    image: pneumonia-frontend
    ports:
      - "8080:80"
    depends_on:
      - backend
    networks:
      - pneumonia-net

networks:
  pneumonia-net:
    driver: bridge
Step 4: Deployment
Run the Docker containers locally, with plans to deploy to a cloud platform later with Docker, Kubernetes, and CI/CD pipeline.
root@zackz:/mnt/f/ml-local/local-cv# docker-compose up
WARN[0000] /mnt/f/ml-local/local-cv/docker-compose.yml: the attribute `version` is obsolete, it will be ignored, please remove it to avoid potential confusion
[+] Running 2/2
 ✔ Container local-cv-backend-1   Created                                                                                                        0.1s
 ✔ Container local-cv-frontend-1  Created                                                                                                        0.1s
Attaching to backend-1, frontend-1
frontend-1  | /docker-entrypoint.sh: /docker-entrypoint.d/ is not empty, will attempt to perform configuration
frontend-1  | /docker-entrypoint.sh: Looking for shell scripts in /docker-entrypoint.d/
frontend-1  | /docker-entrypoint.sh: Launching /docker-entrypoint.d/10-listen-on-ipv6-by-default.sh
frontend-1  | 10-listen-on-ipv6-by-default.sh: info: Getting the checksum of /etc/nginx/conf.d/default.conf
frontend-1  | 10-listen-on-ipv6-by-default.sh: info: Enabled listen on IPv6 in /etc/nginx/conf.d/default.conf
frontend-1  | /docker-entrypoint.sh: Sourcing /docker-entrypoint.d/15-local-resolvers.envsh
frontend-1  | /docker-entrypoint.sh: Launching /docker-entrypoint.d/20-envsubst-on-templates.sh
frontend-1  | /docker-entrypoint.sh: Launching /docker-entrypoint.d/30-tune-worker-processes.sh
frontend-1  | /docker-entrypoint.sh: Configuration complete; ready for start up
frontend-1  | 2025/01/25 13:30:22 [notice] 1#1: using the "epoll" event method
frontend-1  | 2025/01/25 13:30:22 [notice] 1#1: nginx/1.27.3
frontend-1  | 2025/01/25 13:30:22 [notice] 1#1: built by gcc 13.2.1 20240309 (Alpine 13.2.1_git20240309)
frontend-1  | 2025/01/25 13:30:22 [notice] 1#1: OS: Linux 5.15.153.1-microsoft-standard-WSL2
frontend-1  | 2025/01/25 13:30:22 [notice] 1#1: getrlimit(RLIMIT_NOFILE): 1048576:1048576
frontend-1  | 2025/01/25 13:30:22 [notice] 1#1: start worker processes
frontend-1  | 2025/01/25 13:30:22 [notice] 1#1: start worker process 30

backend-1   | /usr/local/lib/python3.9/site-packages/torchvision/models/_utils.py:208: UserWarning: The parameter 'pretrained' is deprecated since 0.13 and may be removed in the future, please use 'weights' instead.
backend-1   |   warnings.warn(
backend-1   | /usr/local/lib/python3.9/site-packages/torchvision/models/_utils.py:223: UserWarning: Arguments other than a weight enum or `None` for 'weights' are deprecated since 0.13 and may be removed in the future. The current behavior is equivalent to passing `weights=None`.
backend-1   |   warnings.warn(msg)
backend-1   |  * Serving Flask app 'app'
backend-1   |  * Debug mode: off
backend-1   | WARNING: This is a development server. Do not use it in a production deployment. Use a production WSGI server instead.
backend-1   |  * Running on all addresses (0.0.0.0)
backend-1   |  * Running on http://127.0.0.1:5000
backend-1   |  * Running on http://172.18.0.2:5000
backend-1   | Press CTRL+C to quit
==========================================================
# test endpoint
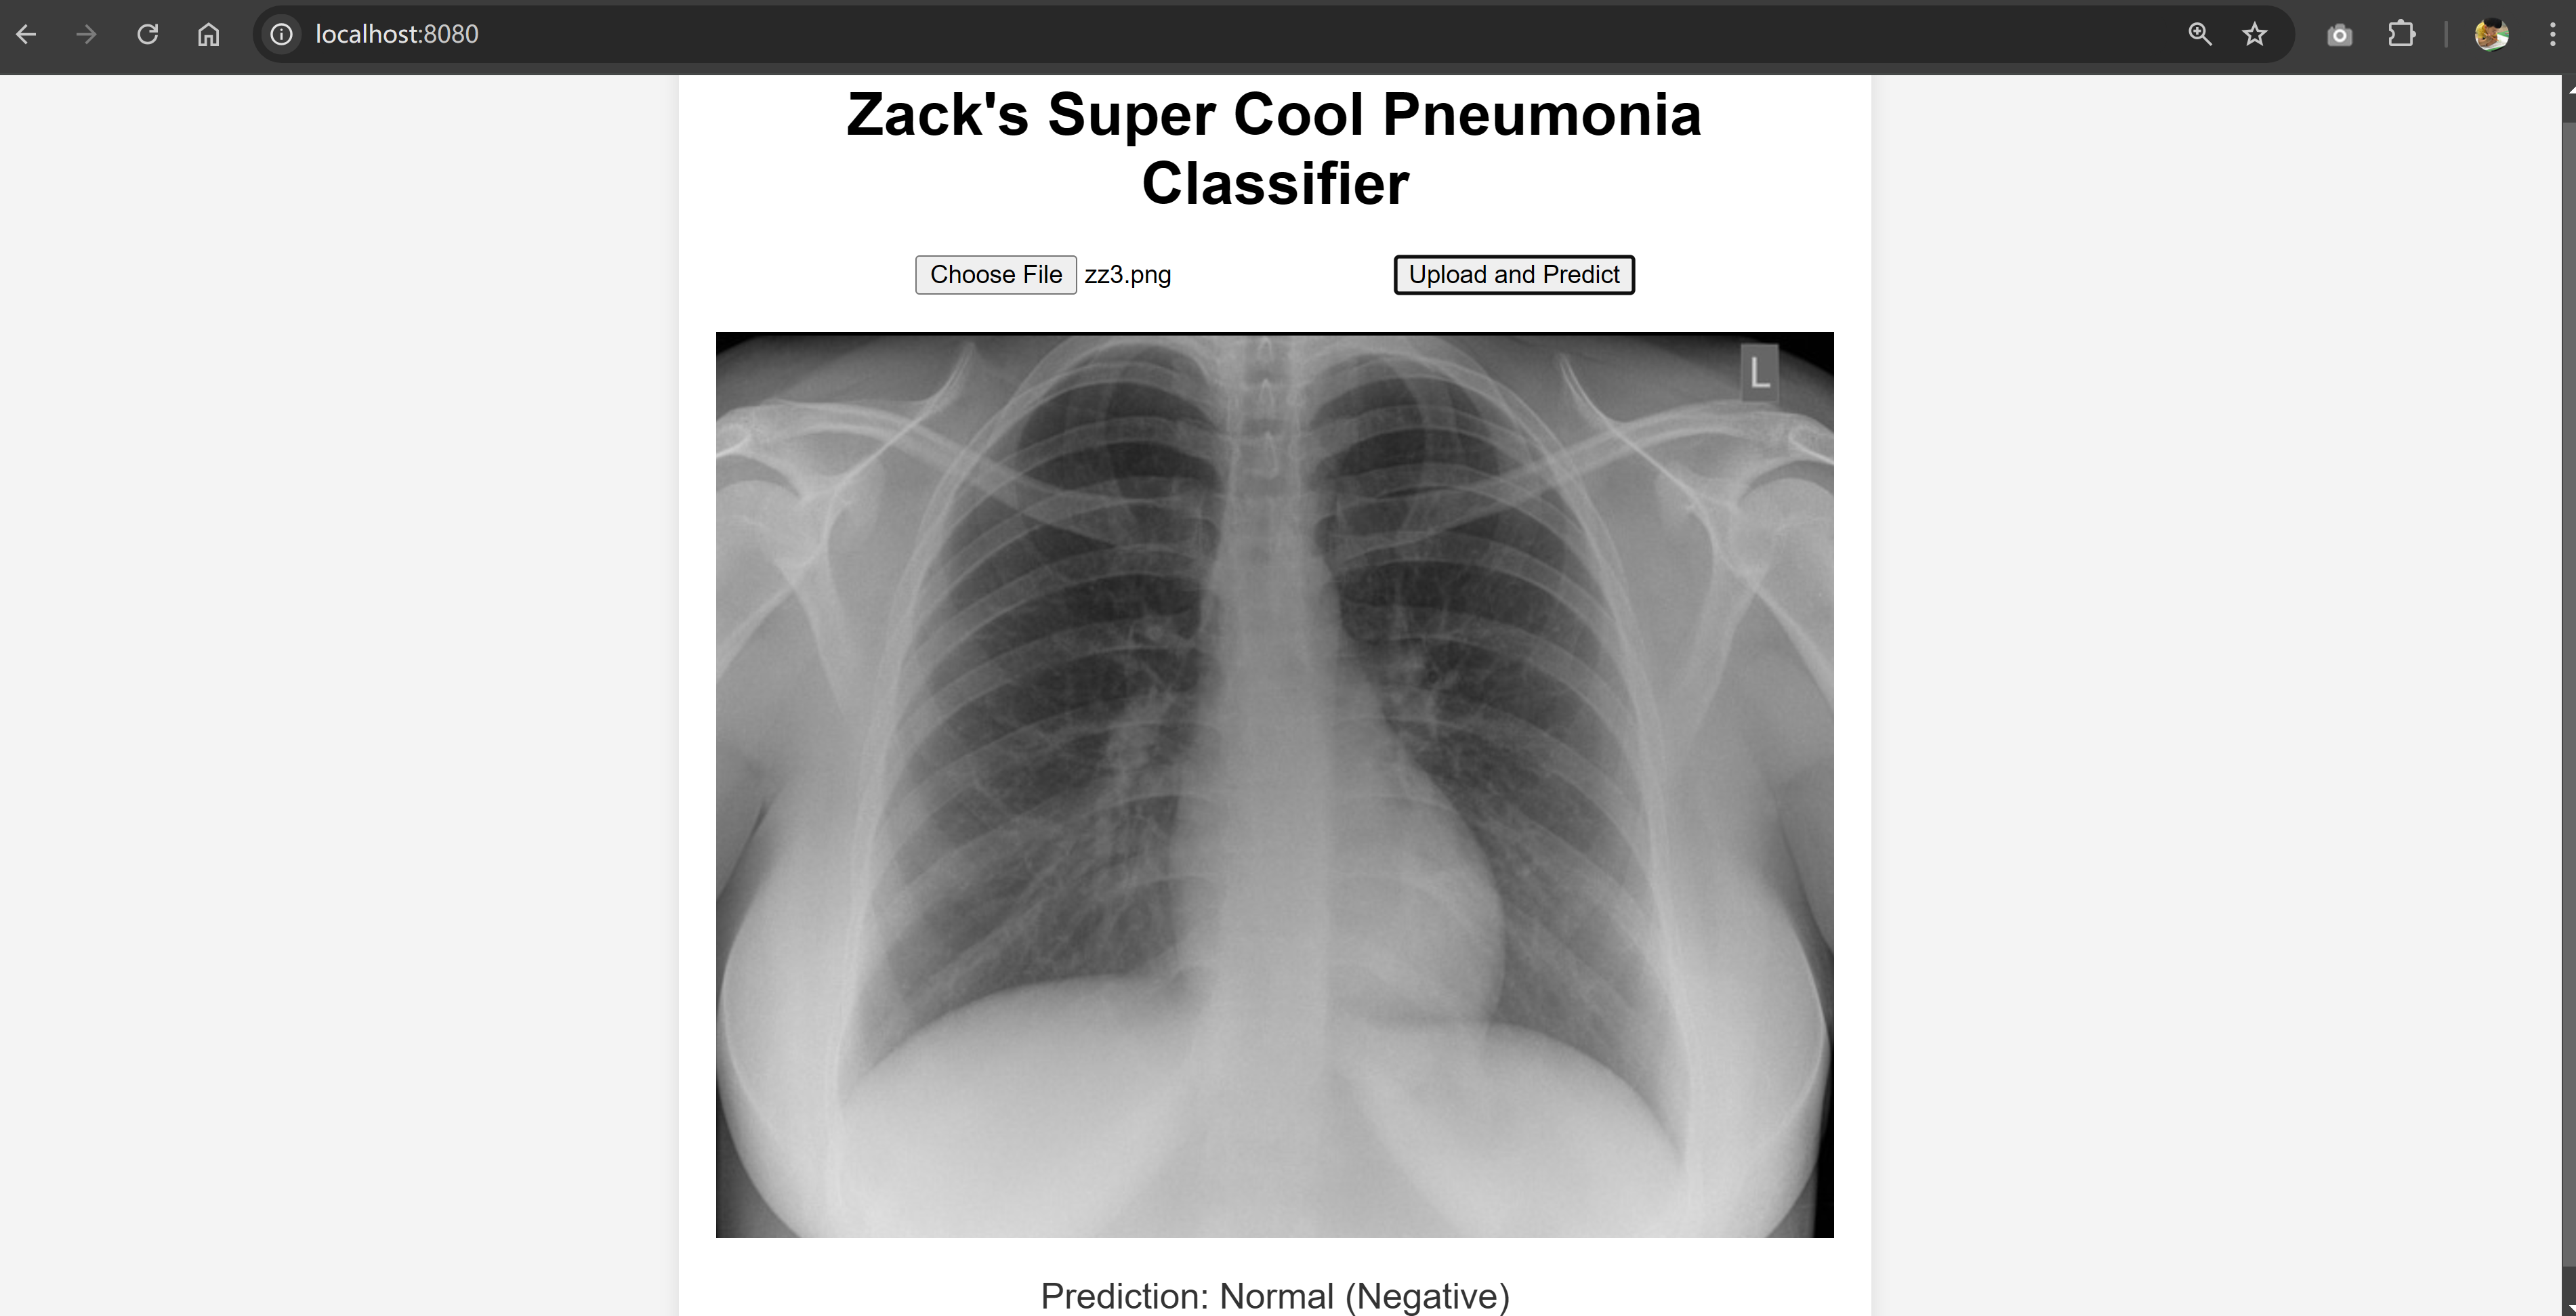
root@zackz:/mnt/f/ml-local/local-cv/# curl -X POST -F "file=@data/chest_xray/zz/zz2.jpeg" http://localhost:5000/predict
{"prediction":"Pneumonia (Positive)"}
root@zackz:/mnt/f/ml-local/local-cv/# curl -X POST -F "file=@data/chest_xray/zz/zz3.jpeg" http://localhost:5000/predict
{"prediction":"Normal (Negative)"}
Frontend testing by providing a Google searched chest X-Ray image to the frontend and see the backend response for Pneumonia prediction.
Key Takeaways
- Successfully built and containerized the pneumonia classifier model and created a functional frontend-backend application with portability and scalability.
- Successfully tested the application locally by uploading a chest X-ray image and receiving a prediction from the backend.
- Future work:
- Model Monitoring using tools like Prometheus, Grafana, or MLflow
- Fine-Tuning with Transfer Learning: Fine-tune a pre-trained model on a larger dataset to get even better accuracy
- Cloud Deployment with GPU Optimization: Optimize GPU usage in the public cloud for inference to reduce latency and cost.