
MLOps - Build a Knowledge Base with DeepSeek R1
'Deep Seek is really hot at the moment!
In this post, I want to build a local Knowledge Base using WSL, Docker, Ollama, Open WebUI and DeepSeek R1 7b.
Ollama is a desktop application designed to run and interact with large language models (LLMs) locally on a machine. It provides an easy interface for downloading, managing, and using various LLMs, ensuring privacy and local execution.
Open WebUI is a web-based user interface for interacting with AI models. It is often used in conjunction with locally hosted or remote LLMs, providing a customizable and user-friendly platform to input queries and manage model interactions.
DeepSeek R1 7b is a large language model developed by DeepSeek, a Chinese AI company. It is designed to understand and generate human-like text based on input prompts. This model can be used for a variety of natural language processing tasks, including text generation, translation, and question answering.
Here is what I am going to build:
- A local RAG (Retrieval Augmented Generation) system
- Using Ollama as the LLM server
- Open WebUI as the frontend interface
- Running everything through Docker/WSL
- Build Knowledge base from some aged tech docs and Zack blogs
- Query KB from the web interface with prompt to DeepSeek R1
Get Started
Since I already have WSL, Nvidia Drivers, CUDA, Python, Docker Desktop ready by following the previous MLOPS posts, in order to have the docker container access GPU, I still need nvidia-container-toolkit to be installed.
# a script to install nvidia-container-toolkit

# Add NVIDIA GPG key and repository
distribution=$(. /etc/os-release;echo $ID$VERSION_ID)
curl -fsSL https://nvidia.github.io/libnvidia-container/gpgkey | sudo gpg --dearmor -o /usr/share/keyrings/nvidia-container-toolkit-keyring.gpg
curl -s -L https://nvidia.github.io/libnvidia-container/$distribution/libnvidia-container.list | \
    sed 's#deb https://#deb [signed-by=/usr/share/keyrings/nvidia-container-toolkit-keyring.gpg] https://#g' | \
    sudo tee /etc/apt/sources.list.d/nvidia-container-toolkit.list

# Install the toolkit
sudo apt-get update
sudo apt-get install -y nvidia-container-toolkit
sudo nvidia-ctk runtime configure --runtime=docker
sudo systemctl restart docker

# verify docker container can access GPU

docker run --rm --gpus all nvidia/cuda:12.6.0-base-ubuntu22.04 nvidia-smi
Sun Jan 19 21:31:15 2025
+-----------------------------------------------------------------------------------------+
| NVIDIA-SMI 560.35.02              Driver Version: 560.94         CUDA Version: 12.6     |
|-----------------------------------------+------------------------+----------------------|
| GPU  Name                 Persistence-M | Bus-Id          Disp.A | Volatile Uncorr. ECC |
| Fan  Temp   Perf          Pwr:Usage/Cap |           Memory-Usage | GPU-Util  Compute M. |
|                                         |                        |               MIG M. |
|=========================================+========================+======================|
|   0  NVIDIA GeForce RTX 3070 Ti     On  |   00000000:01:00.0  On |                  N/A |
|  0%   52C    P8             17W /  186W |    1847MiB /   8192MiB |      0%      Default |
|                                         |                        |                  N/A |
+-----------------------------------------+------------------------+----------------------|

+-----------------------------------------------------------------------------------------+
| Processes:                                                                              |
|  GPU   GI   CI        PID   Type   Process name                              GPU Memory |
|        ID   ID                                                               Usage      |
|=========================================================================================|
|    0   N/A  N/A        27      G   /Xwayland                                   N/A      |
|    0   N/A  N/A        37      G   /Xwayland                                   N/A      |
+-----------------------------------------------------------------------------------------+
Install Ollama and Open WebUI
Follow Ollama website, run below script to install Ollama server.
# Install and run Ollama root@zackz:/mnt/f/ml-local# curl -fsSL https://ollama.com/install.sh | sh >>> Installing ollama to /usr/local >>> Downloading Linux amd64 bundle ######################################################################## 100.0% >>> Creating ollama user... >>> Adding ollama user to render group... >>> Adding ollama user to video group... >>> Adding current user to ollama group... >>> Creating ollama systemd service... >>> Enabling and starting ollama service... Created symlink /etc/systemd/system/default.target.wants/ollama.service → /etc/systemd/system/ollama.service. >>> Nvidia GPU detected. >>> The Ollama API is now available at 127.0.0.1:11434. >>> Install complete. Run "ollama" from the command line. # pull and run deepseek-r1:8b models root@zackz:~# ollama list NAME ID SIZE MODIFIED deepseek-r1:14b ea35dfe18182 9.0 GB 6 days ago deepseek-r1:8b 28f8fd6cdc67 4.9 GB 11 days ago llama3:8b 365c0bd3c000 4.7 GB 12 days ago qwen:7b 2091ee8c8d8f 4.5 GB 12 days ago mistral:latest f974a74358d6 4.1 GB 12 days ago root@zackz:~# ollama run deepseek-r1:8b >>> who are youGreetings! I'm DeepSeek-R1, an artificial intelligence assistant created by DeepSeek. I'm at your service and would be delighted to assist you with any inquiries or tasks you may have. >>> /bye
Follow Open WebUI Github, install Open WebUI using docker, by configuring ollama API URL and docker persistent volume, Open WebUI will show the models running within Ollama, all the configuration and dialogue history data also can be persisted after server and application restart.
# create persistent volume for webui-data, run docker

root@zackz:/mnt/f/ml-local# mkdir -p webui-data
root@zackz:~# docker run -d \
  -p 3000:8080 \
  --add-host=host.docker.internal:host-gateway \
  -e OLLAMA_API_BASE_URL=http://host.docker.internal:11434/api \
  --name open-webui \
  --restart always \
  ghcr.io/open-webui/open-webui:main

# verify container status
root@zackz:/mnt/f/ml-local# docker ps
CONTAINER ID   IMAGE                                  COMMAND           CREATED         STATUS                   PORTS                    NAMES
5e7e2e63a4e1   ghcr.io/open-webui/open-webui:main   "bash start.sh"   4 minutes ago   Up 4 minutes (healthy)   0.0.0.0:3000->8080/tcp   open-webui

# verify from open-webui log
root@zackz:/mnt/f/ml-local#  docker logs open-webui

  ___                    __        __   _     _   _ ___
 / _ \ _ __   ___ _ __   \ \      / /__| |__ | | | |_ _|
| | | | '_ \ / _ \ '_ \   \ \ /\ / / _ \ '_ \| | | || |
| |_| | |_) |  __/ | | |   \ V  V /  __/ |_) | |_| || |
 \___/| .__/ \___|_| |_|    \_/\_/ \___|_.__/ \___/|___|
      |_|


v0.5.4 - building the best open-source AI user interface.

https://github.com/open-webui/open-webui

Fetching 30 files: 100%|██████████| 30/30 [01:21<00:00,  2.73s/it]
INFO:     Started server process [1]
INFO:     Waiting for application startup.
INFO:     Application startup complete.
INFO:     Uvicorn running on http://0.0.0.0:8080 (Press CTRL+C to quit)
INFO:     172.17.0.1:59432 - "GET /static/splash.png HTTP/1.1" 200 OK
INFO:     172.17.0.1:59432 - "GET /api/config HTTP/1.1" 200 OK
INFO:     172.17.0.1:59430 - "GET /static/favicon.png HTTP/1.1" 200 OK
INFO:     ('172.17.0.1', 59438) - "WebSocket /ws/socket.io/?EIO=4&transport=websocket" [accepted]
INFO:     connection open
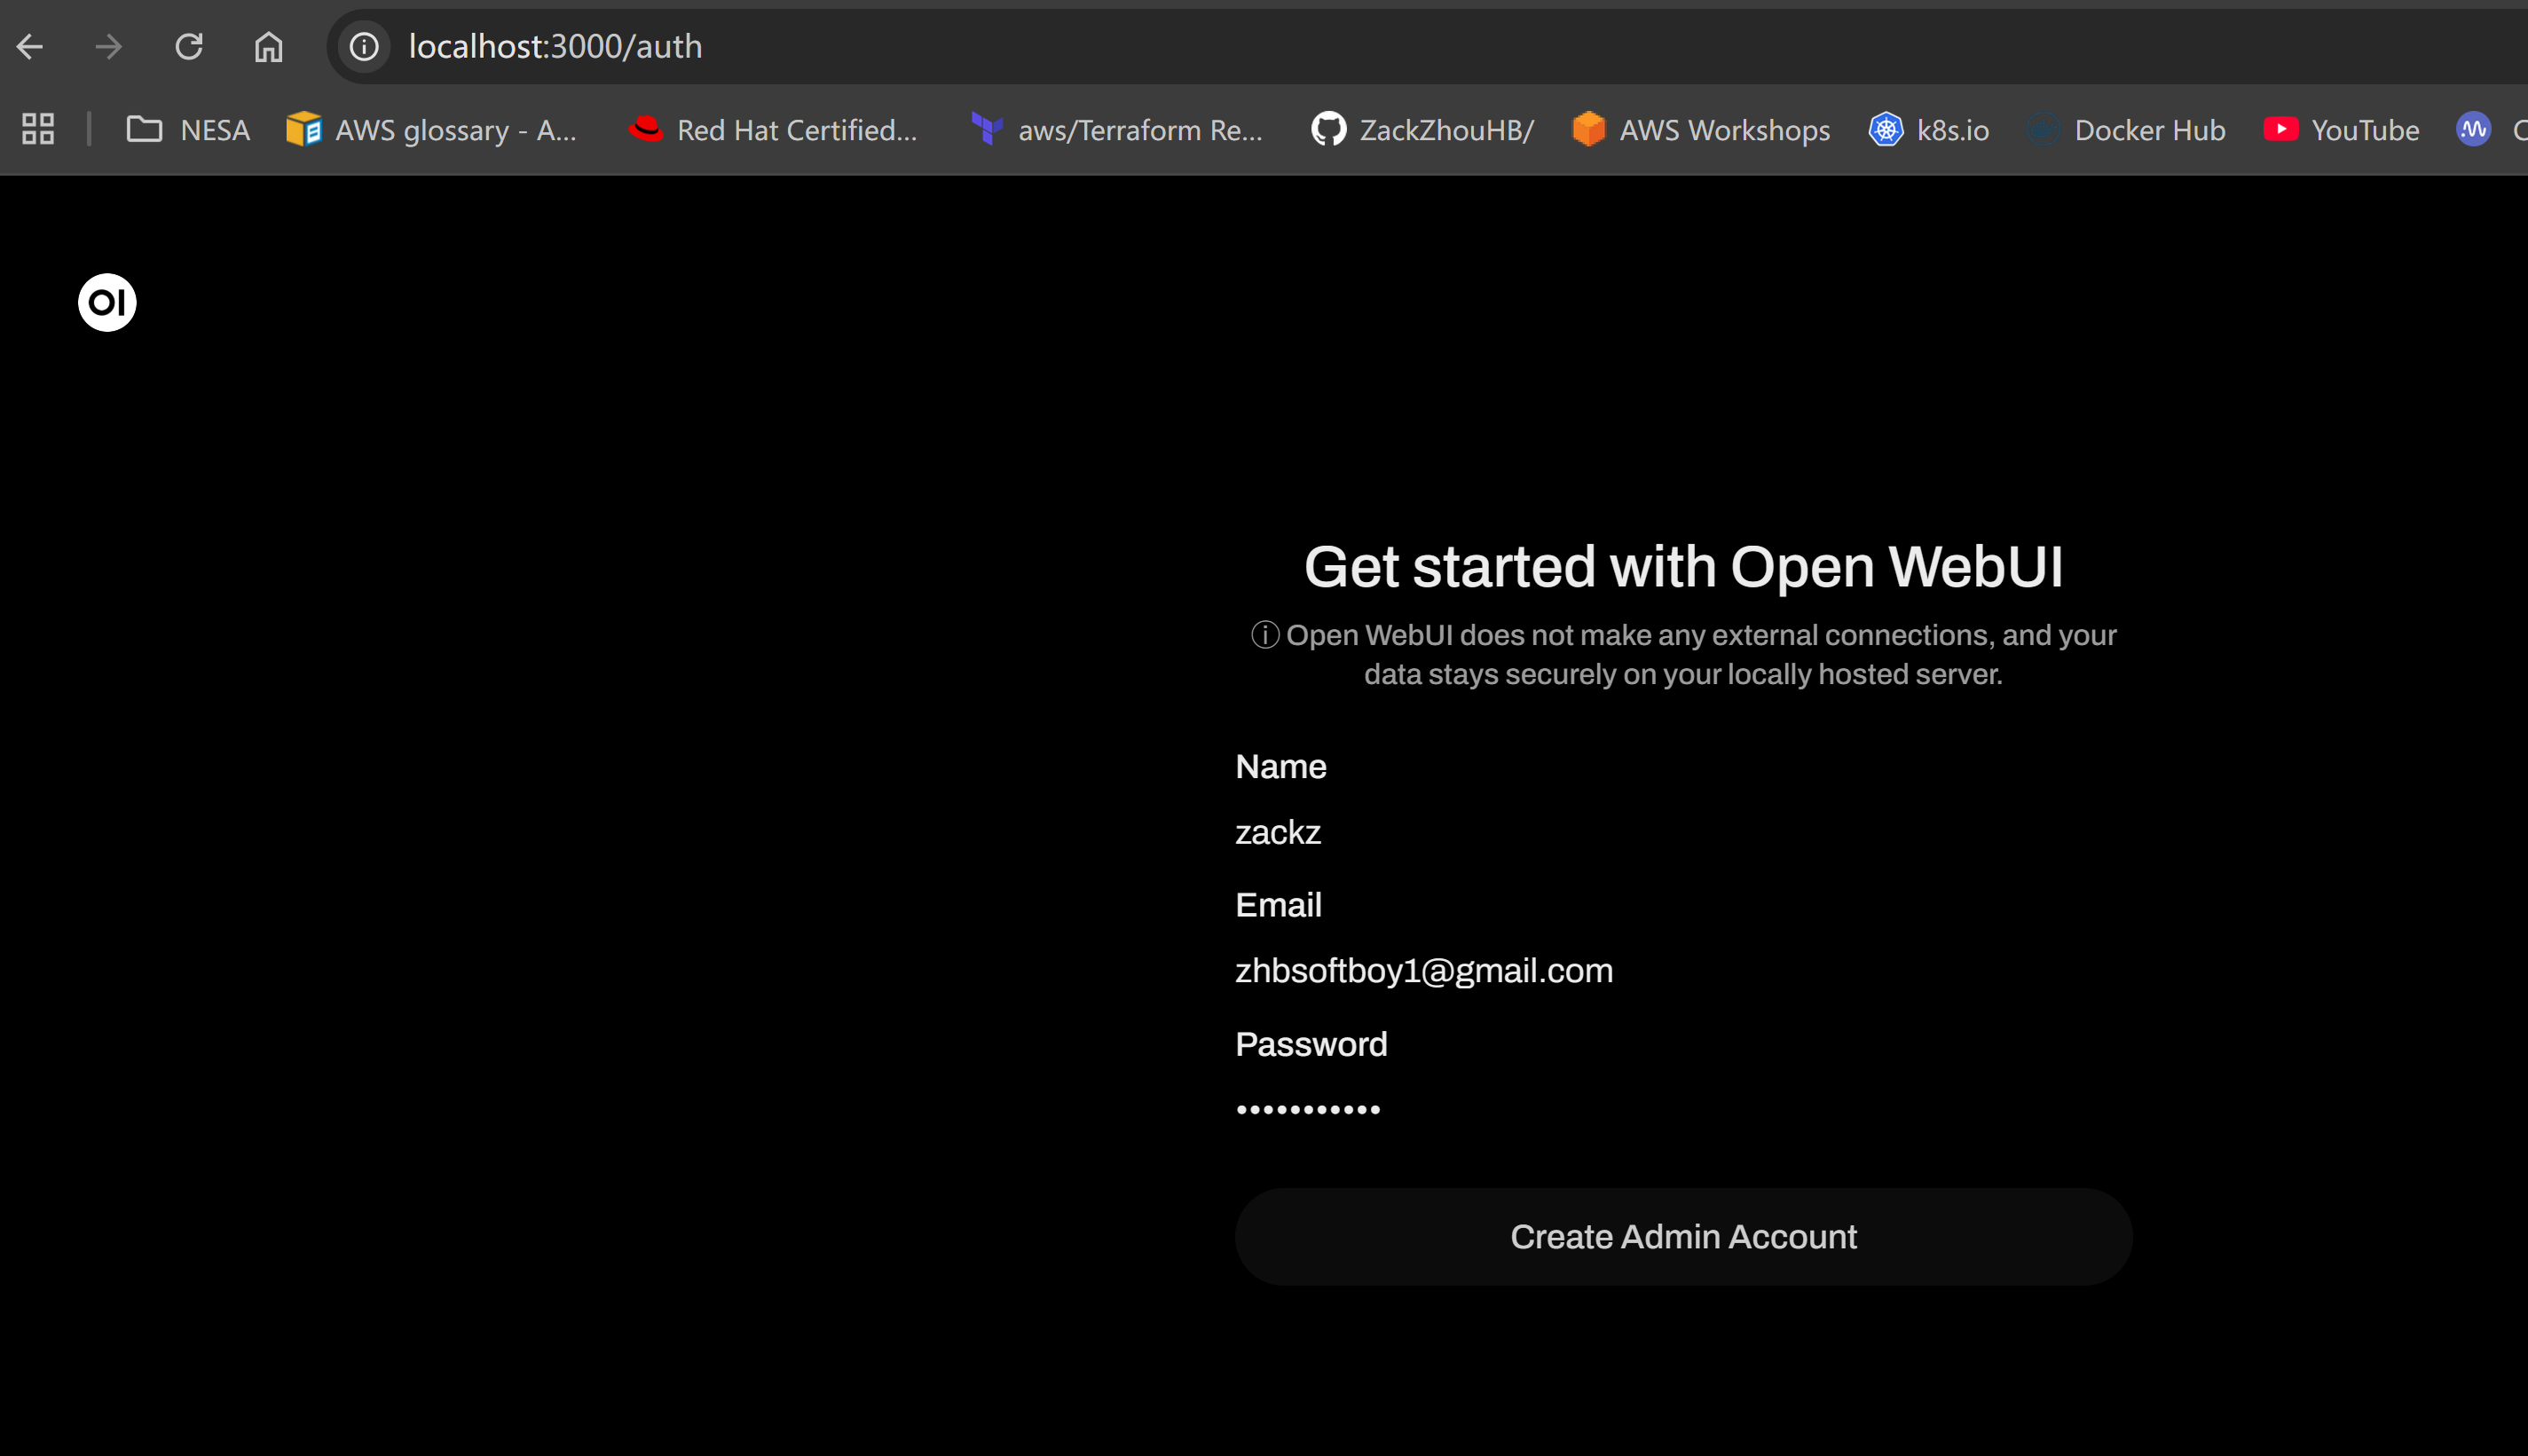
Open web browser and navigate to http://localhost:3000/ to access Open WebUI. First time access, you will be prompted to create a new admin account.
Check modules available from frontend webui:

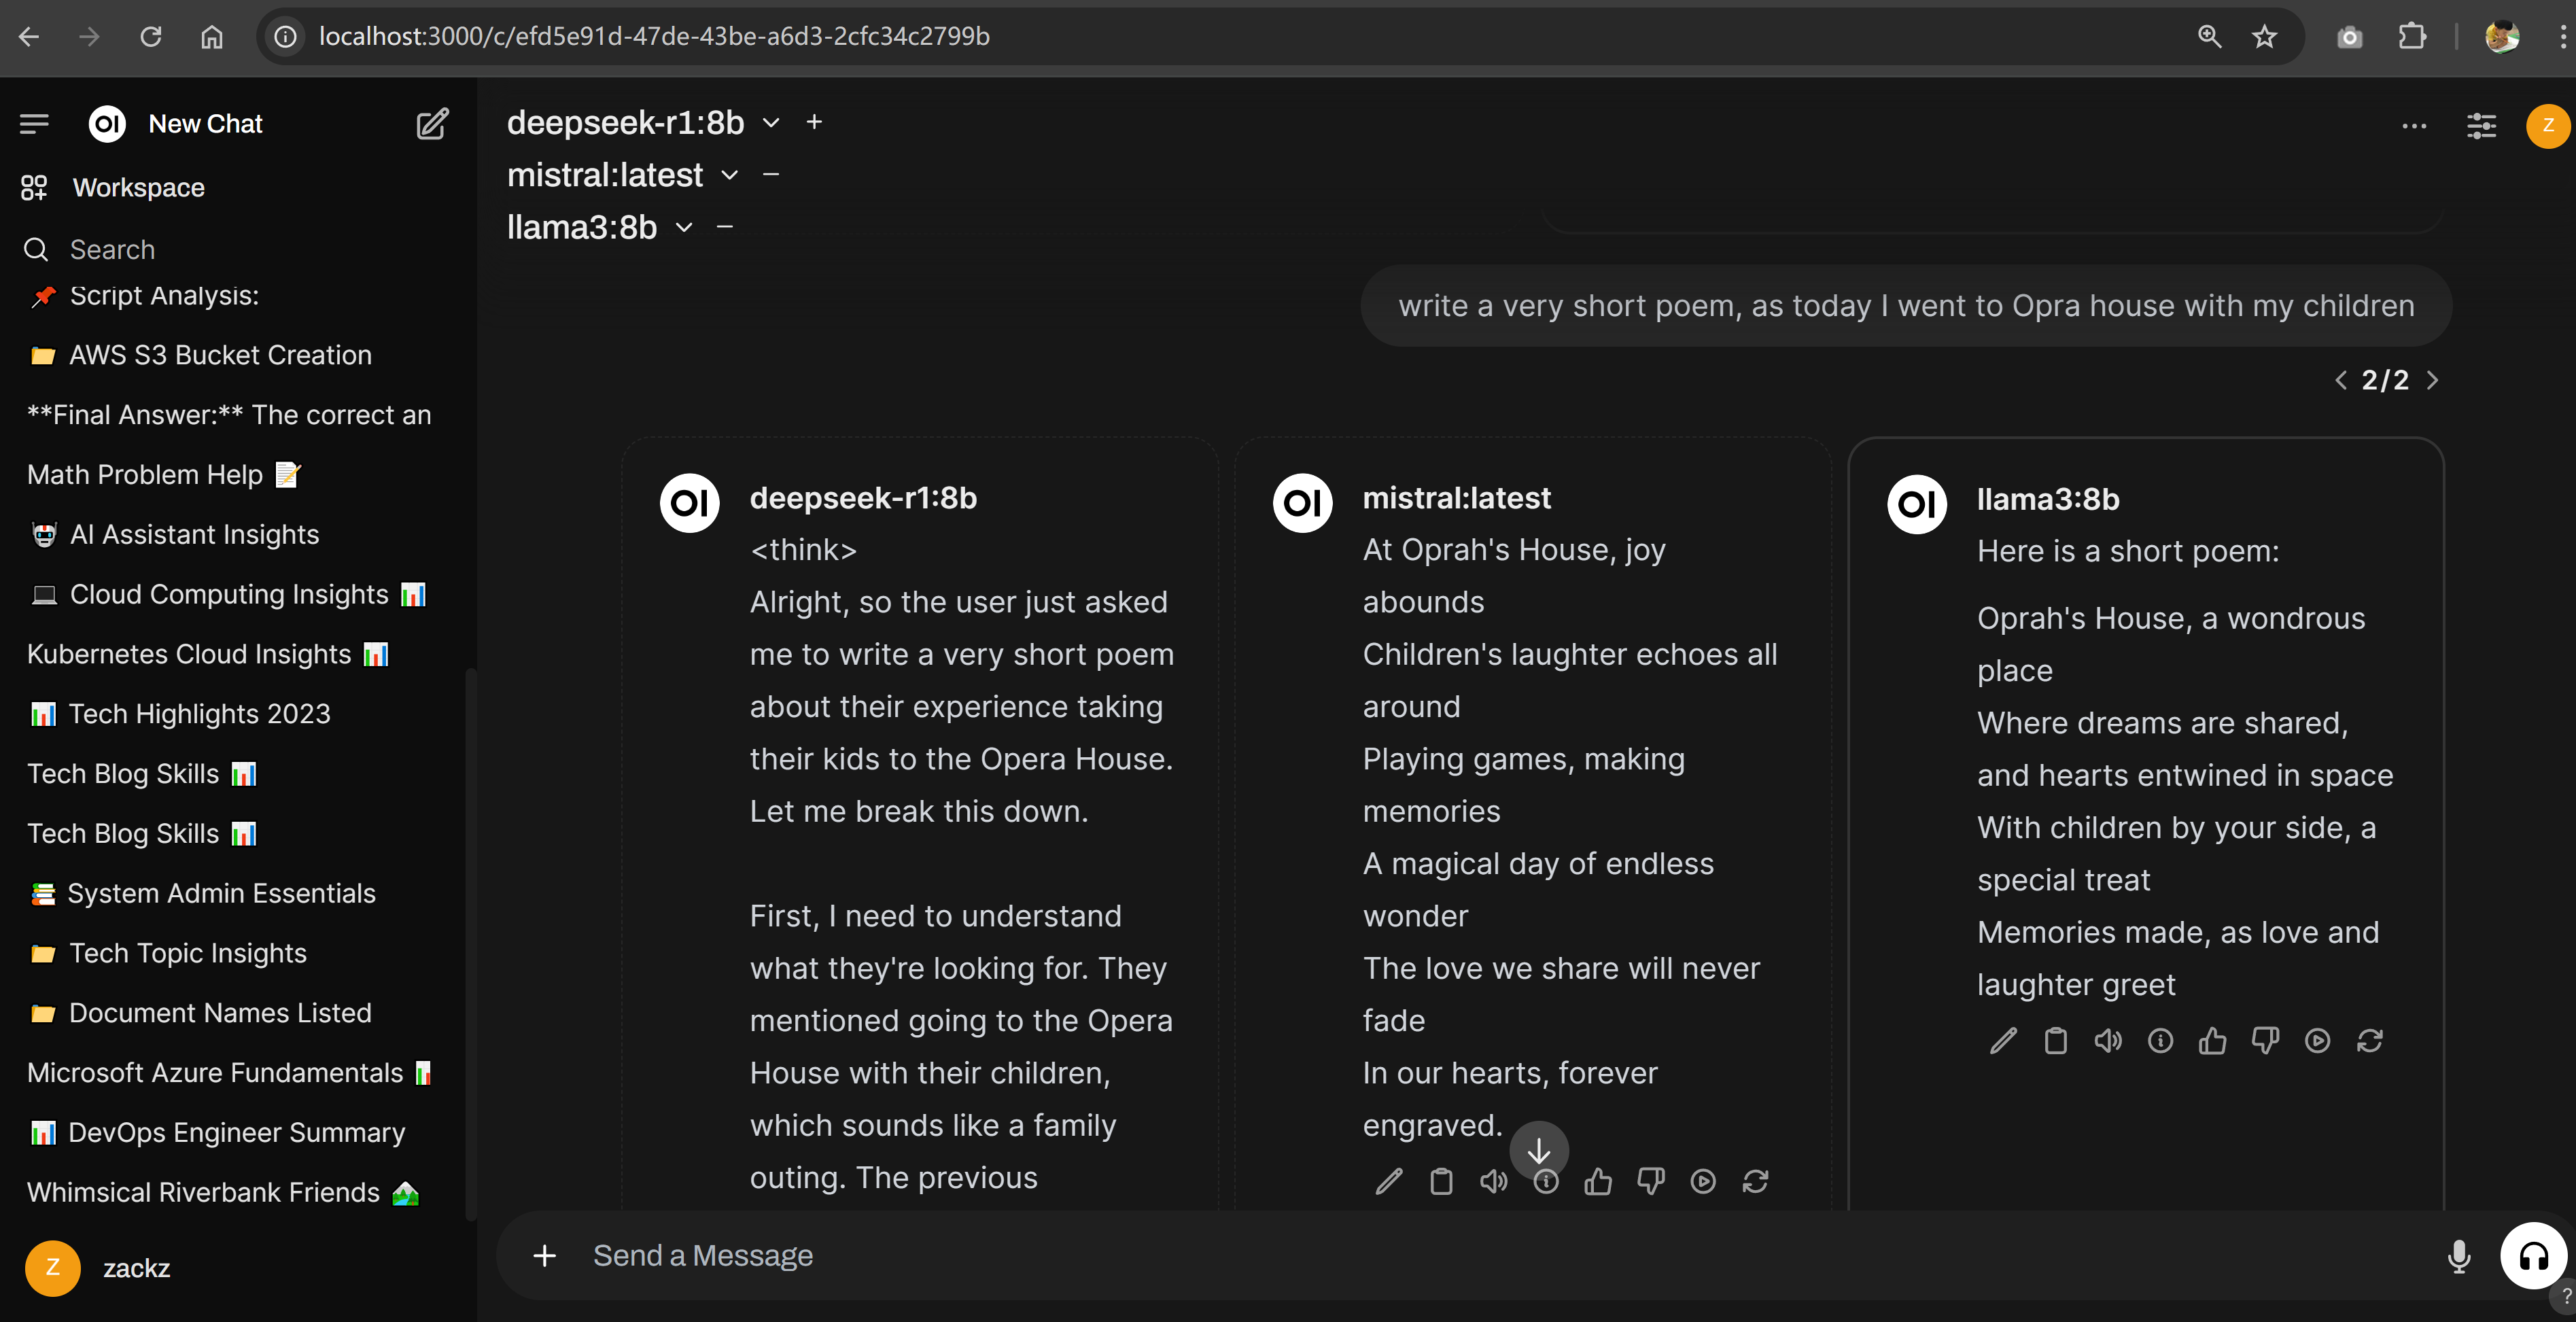
Start a dialogue to compare 3 models `deepseek-r1:8b`, `llama3:8b` and `mistral`, obviously `llama3:8b` is better than the other 2 models.
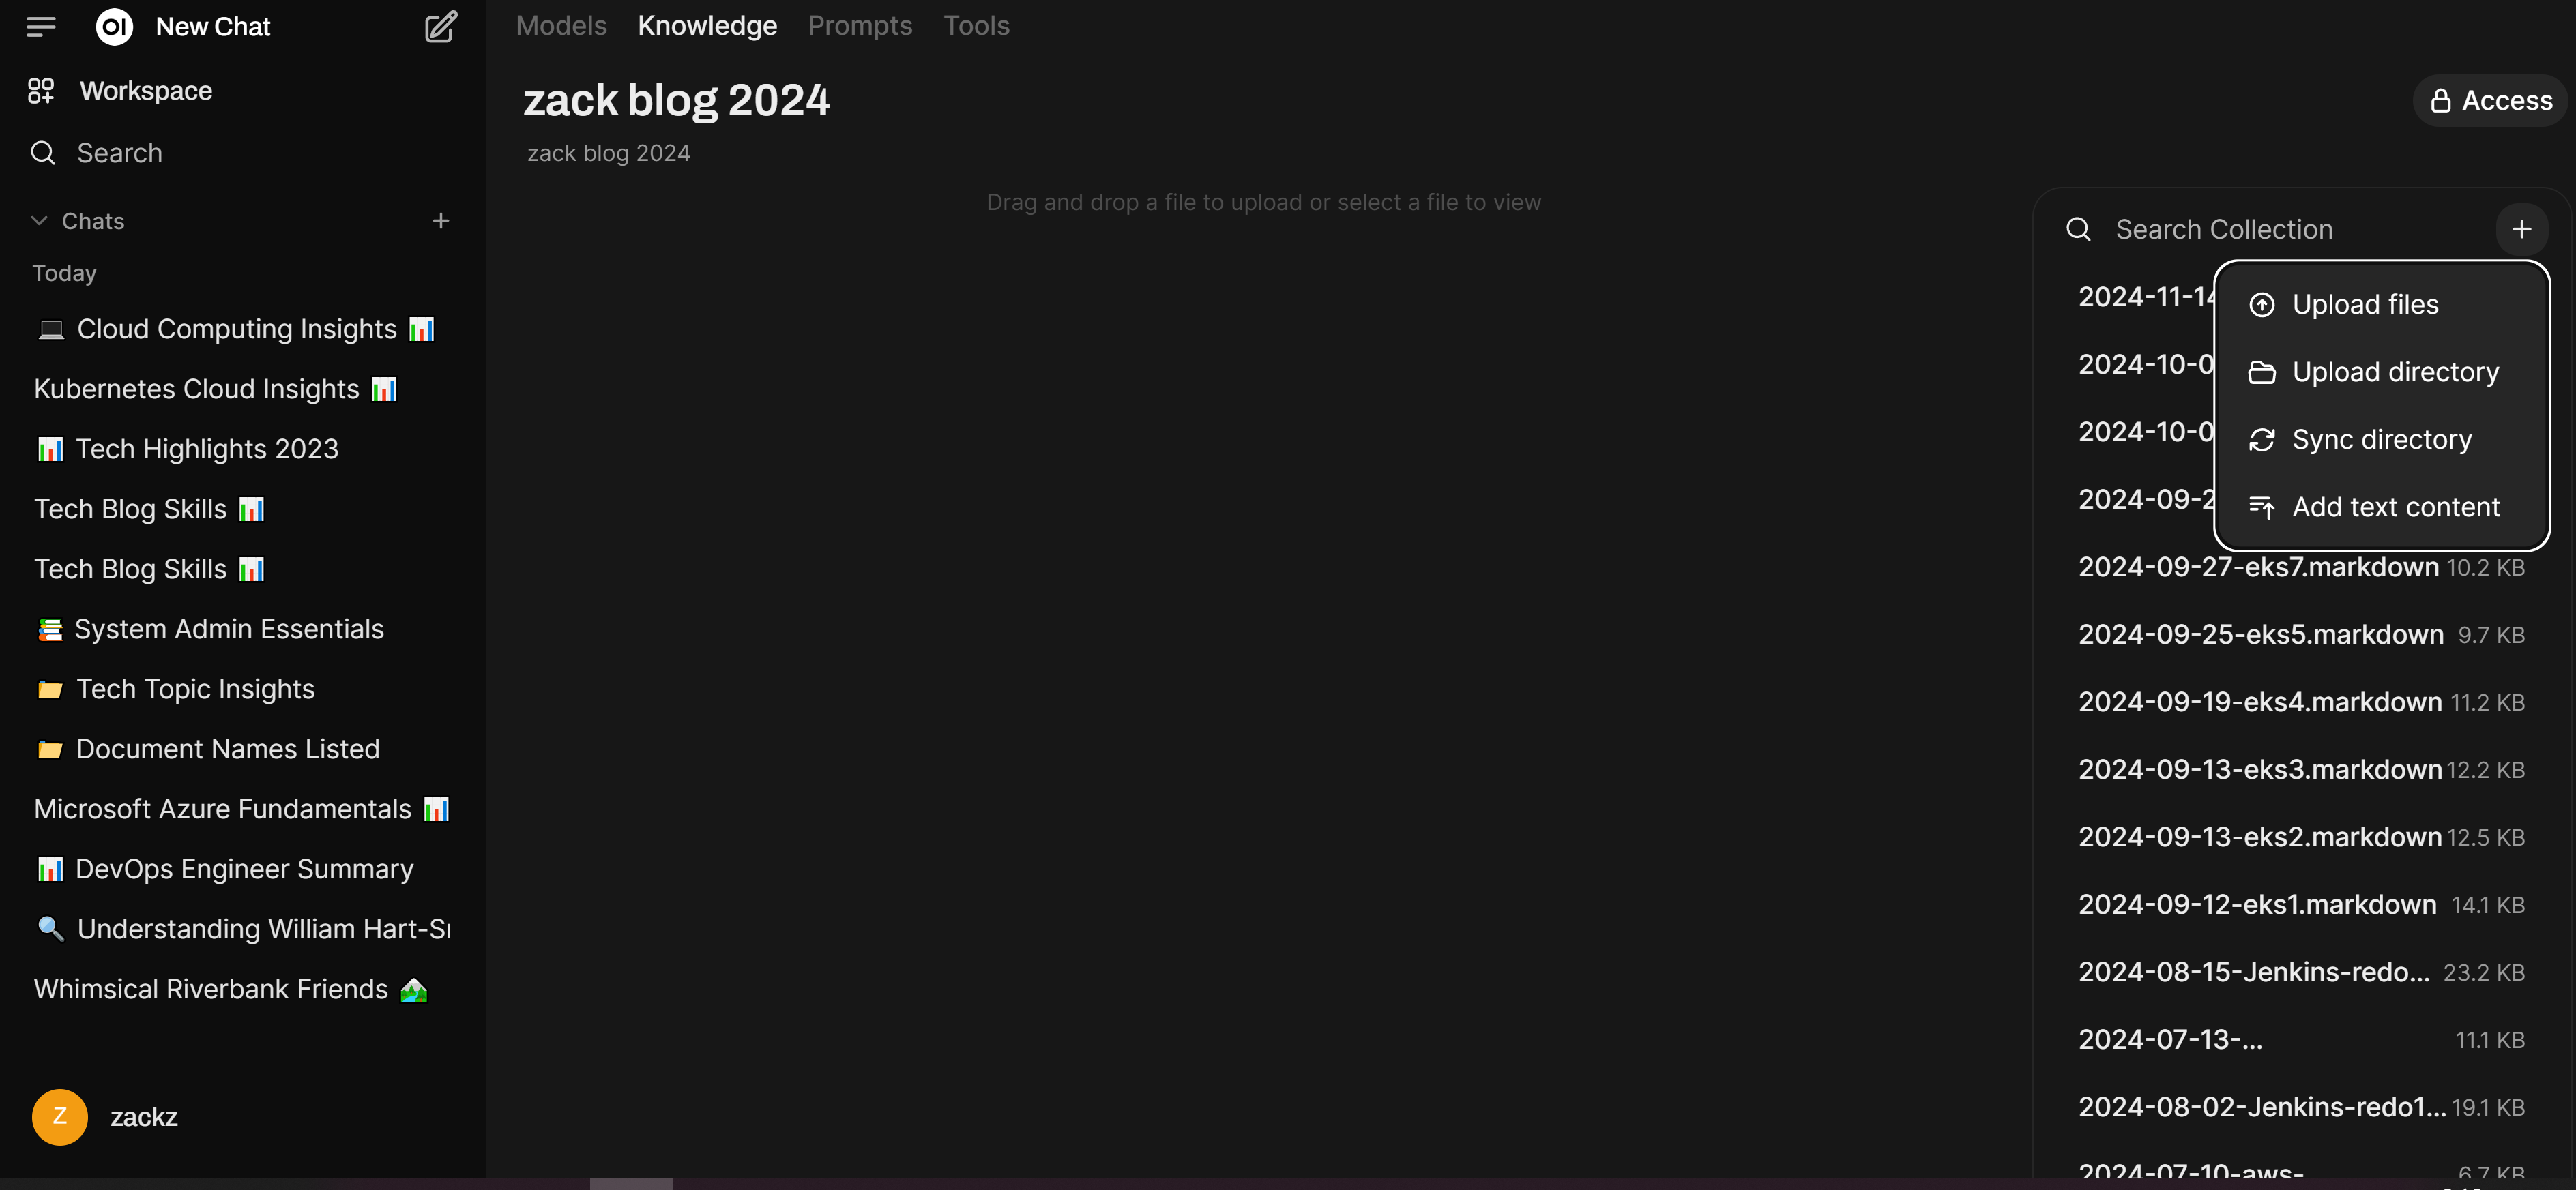
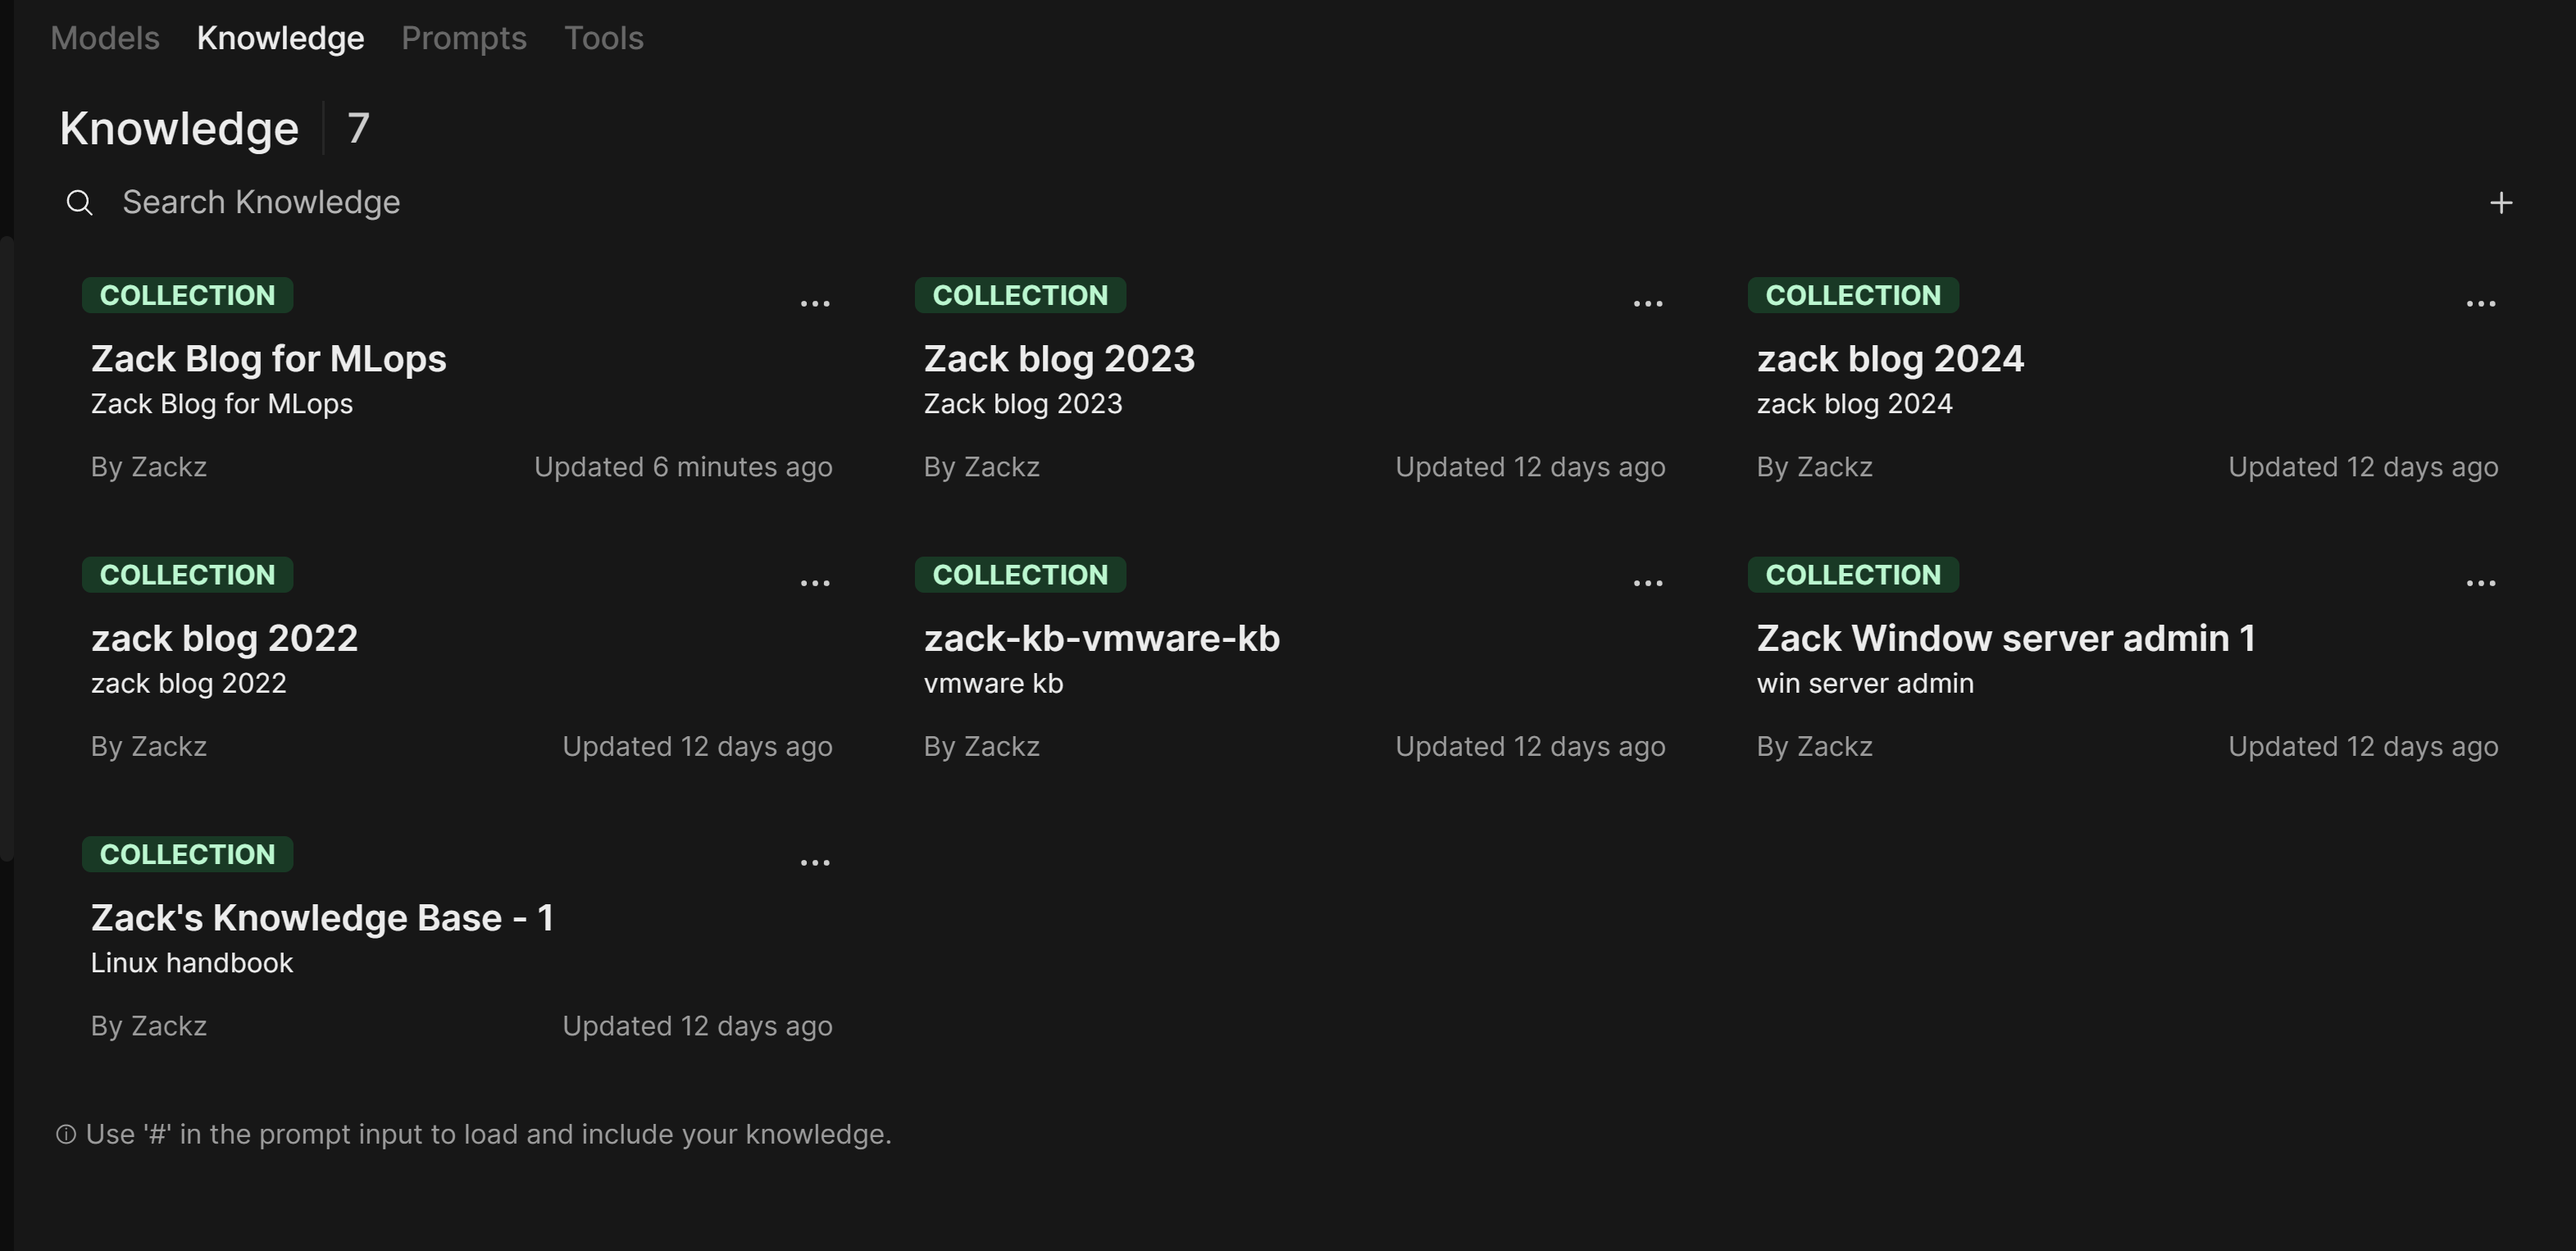
Build knowledge base collections
Building knowledge base collections in Open WebUI typically involves organizing, indexing, and embedding relevant data so that it can be queried effectively by the LLM.
Prepare Source Data
I have some aged Linux, VMware and Windows admin docs in my computer with Microsoft Word format, I will use them to build some testing knowledge base collections, then I will upload my Zack blog posts as Markdown format into KB collections, then test from the dialogue to see how easily indexing and retrieval can be done.
Enable Retrieval Features and Test Knowledge Base
Configure Open WebUI to use the knowledge base during interactions. This involves enabling a retrieval-augmented generation (RAG) feature or linking the embeddings to the model.
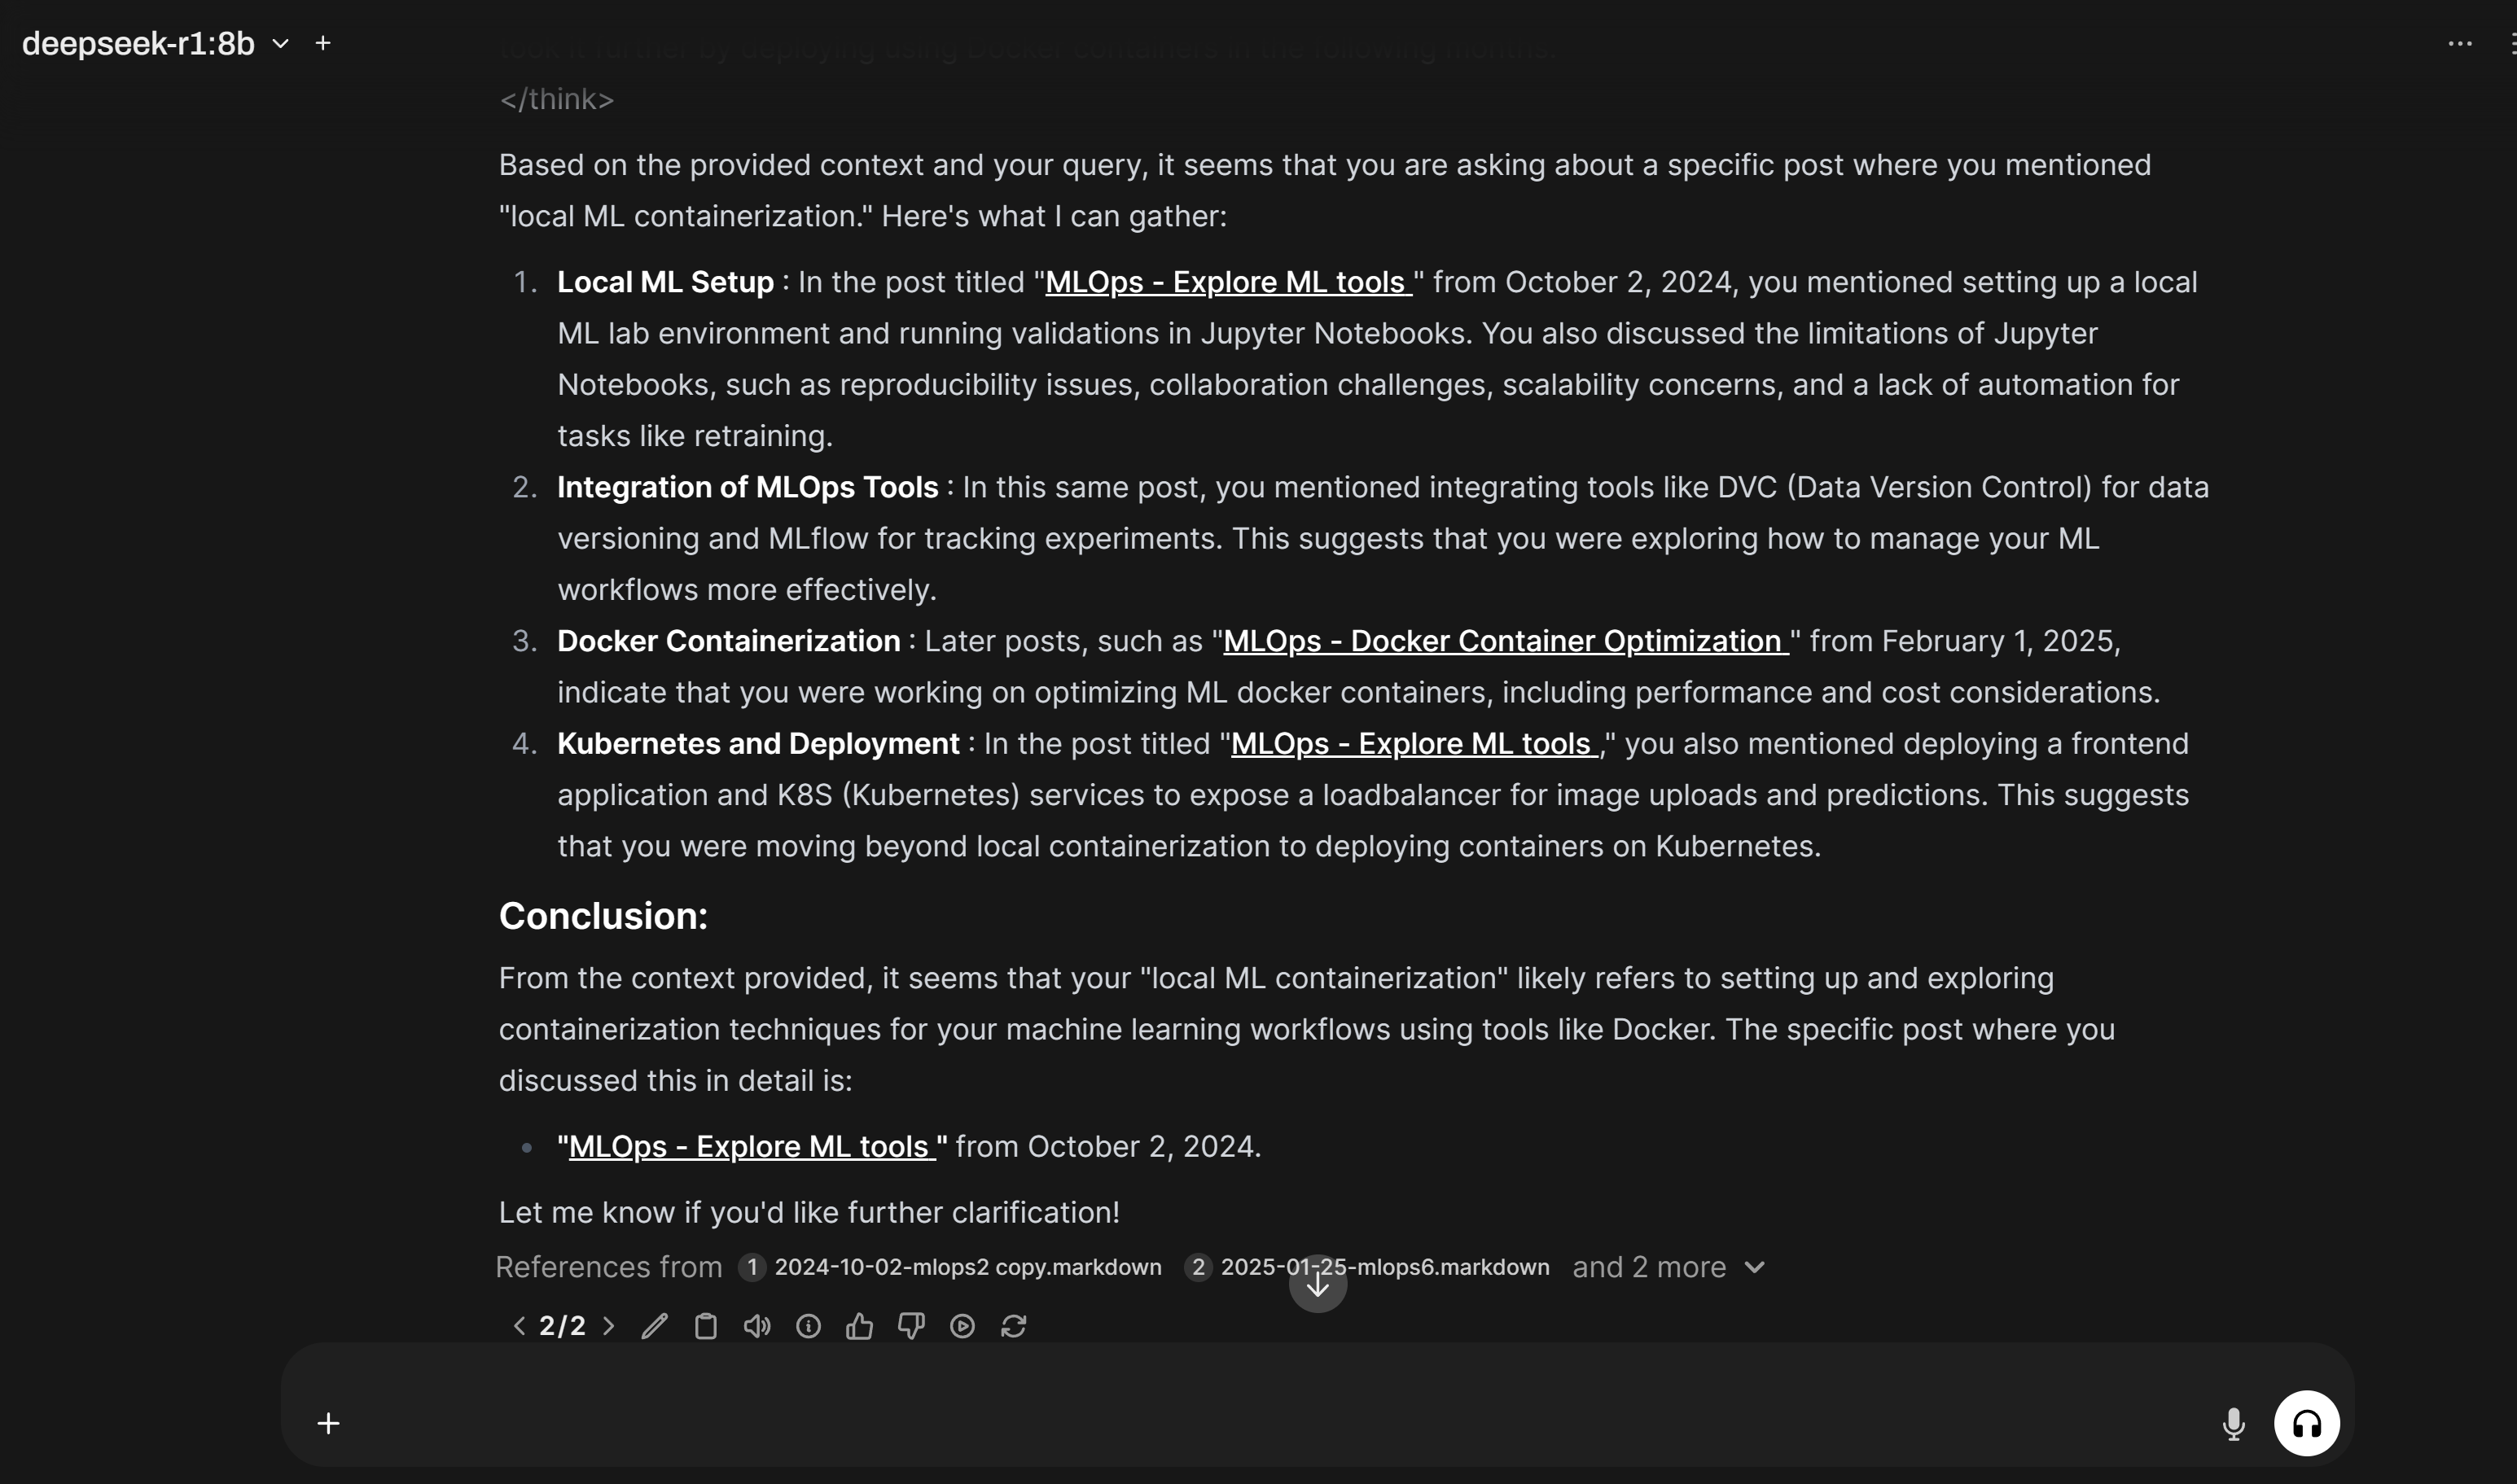
Using `#` in the beginning of the prompt to enable RAG feature, choose the knowledge collection from the collections we built earlier.
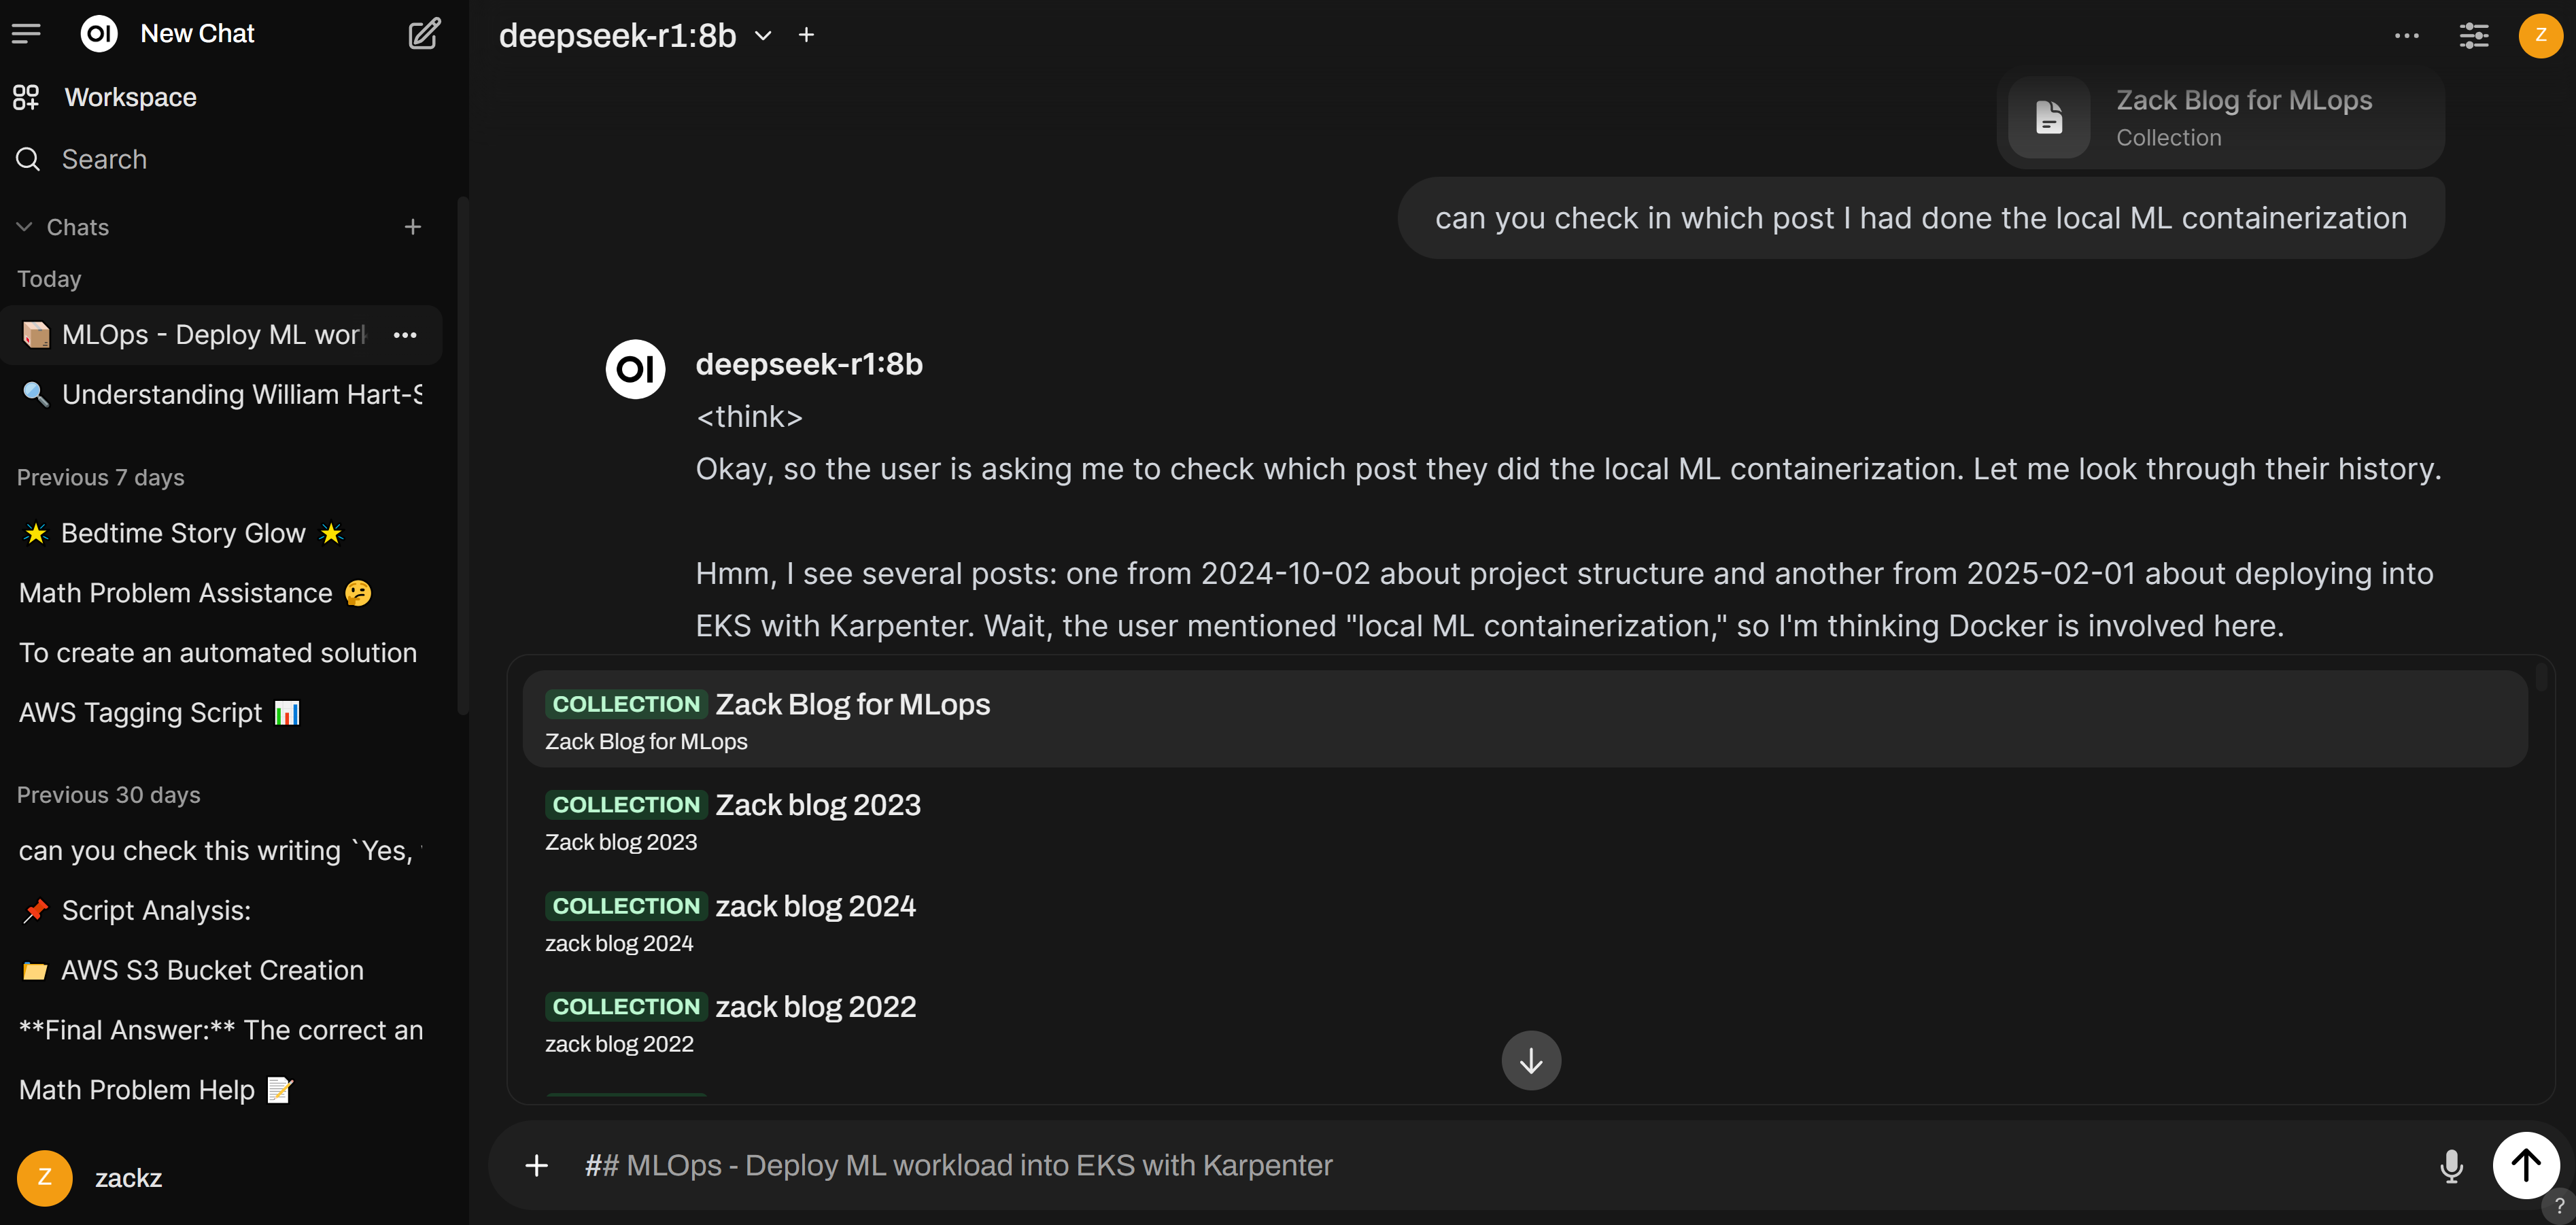
Start a dialogue and choose `deepseek-r1:8b` model, use the knowledge base collections `Zack Blog for MLops` as a reference to provide an answer to summarize the posts I created in 2024:

Conclusion
In this post, I did some hands-on work to build a local DeepSeek R1-7B model. It is not accurate enough for real-world problems, considering my current GPU can only handle this 7B model—for fun, but still good to practise such local deployment. While it can retrieve some level of correct information based on the prompt and the given knowledge base collections, it is still limited. I assume the 32B model would perform better, but due to GPU memory constraints, the token output for DeepSeek 32B is too slow. Maybe later, I can try a cloud GPU instance or an AWS-managed AI service like Amazon Bedrock to test more powerful models in the future..