
Flask stands out as one of Python’s most popular web frameworks. Designed for versatility and ease of use, Flask offers a robust starting point for crafting web apps.
By the following posts, I will use Flask to:
- Create a series of Python web applications from simple app (Hello Zack)
- Develop microservices applications (order and user), deploy using Docker compose
- Create Python API gateway application
- Integrate with Consul for service discovery and register
- Enable logging with ELK, monitoring with Prometheus & Grafana
- Lastly, I will create Kubernetes manifest for K8S deployment
I will skip ArgoCD and Github Action as I had done similar posts before.
Get started with Flask env and simple appI will skip the installation for Docker and python3 as those can be found via the official Docker and Python website.
In the application Python code, I will import the Flask class from the flask module. Flask is a micro web framework written in Python. The Flask class is used to create a Flask application instance, which will be used to handle incoming web requests and route them to the appropriate functions in our code.
# local create a new virtualenv
virtualenv flask
# pip3 install virtualenv
cd flask
# activate the virtualenv
source bin/activate
# install flask
pip install flask
# create a simple Flask app
vim app.py
from flask import Flask
# create an instance of the Flask class and store it in the app variable, The __name__ variable is passed as an argument to the Flask constructor. This helps Flask determine the root path for the application, which is useful for locating resources, templates, and static files
app = Flask(__name__)
# This is a decorator that Flask provides. A decorator is a way to modify the behavior of a function or method. In this case, @app.route('/') tells Flask to execute the following function (in this case, hello_zack) when the root URL ('/') of the web application is accessed
@app.route('/')
# This line defines a function named hello_zack. This function will be called when a request to the root URL ('/') is made.
def hello_zack():
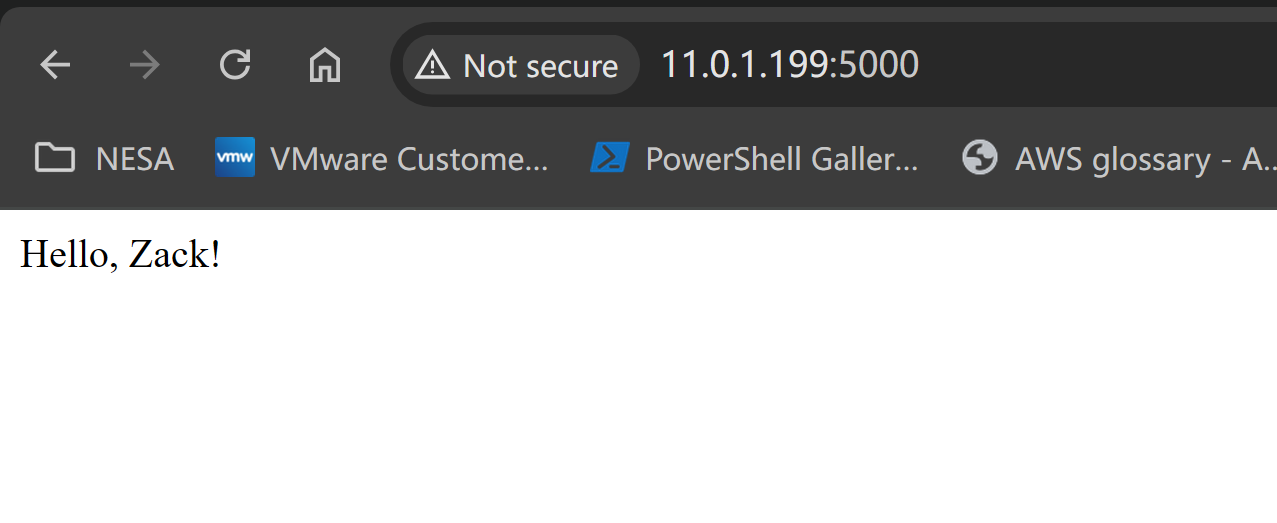
# This line returns the string 'Hello, Zack!' as the response to the web request. When someone accesses the root URL, they will see this message in their web browser.
return 'Hello, Zack!'
# This is a common Python idiom that checks whether the script is being run directly or being imported as a module in another script
if __name__ == '__main__':
# This line starts the Flask development server. The host='0.0.0.0' argument makes the server accessible from any network interface, with the default port for Flask is 5000
app.run(host='0.0.0.0', port=5000)
# run it
(flask) root@ubt-server:~/zack-gitops-project/Python-flask/01-single-app# python3 app.py
* Serving Flask app 'app'
* Debug mode: off
WARNING: This is a development server. Do not use it in a production deployment. Use a production WSGI server instead.
* Running on all addresses (0.0.0.0)
* Running on http://127.0.0.1:5000
* Running on http://11.0.1.199:5000
Press CTRL+C to quit
11.0.1.1 - - [18/Jul/2024 13:50:41] "GET / HTTP/1.1" 200 -
 Create "user" and "order" flask microservice apps
Now I will move to create 2 microservice applications with Flask.
In design, I will import the Flask class and jsonify function to create a Flask application instance, define a route (/orders) and a corresponding function (get_orders) to handle requests to that route, then return a JSON response with order details. Same design for user.py as well.
# order_service.py
from flask import Flask, jsonify
app = Flask(__name__)
@app.route('/orders')
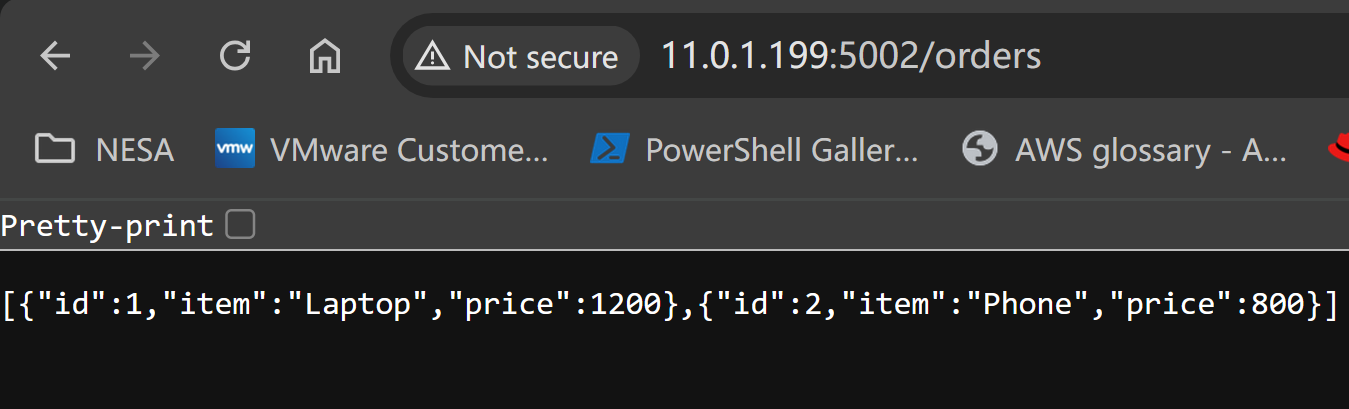
def get_orders():
orders = [
{'id': 1, 'item': 'Laptop', 'price': 1200},
{'id': 2, 'item': 'Phone', 'price': 800}
]
return jsonify(orders)
if __name__ == '__main__':
app.run(host='0.0.0.0', port=5002)
# user_service.py
from flask import Flask, jsonify
app = Flask(__name__)
@app.route('/users')
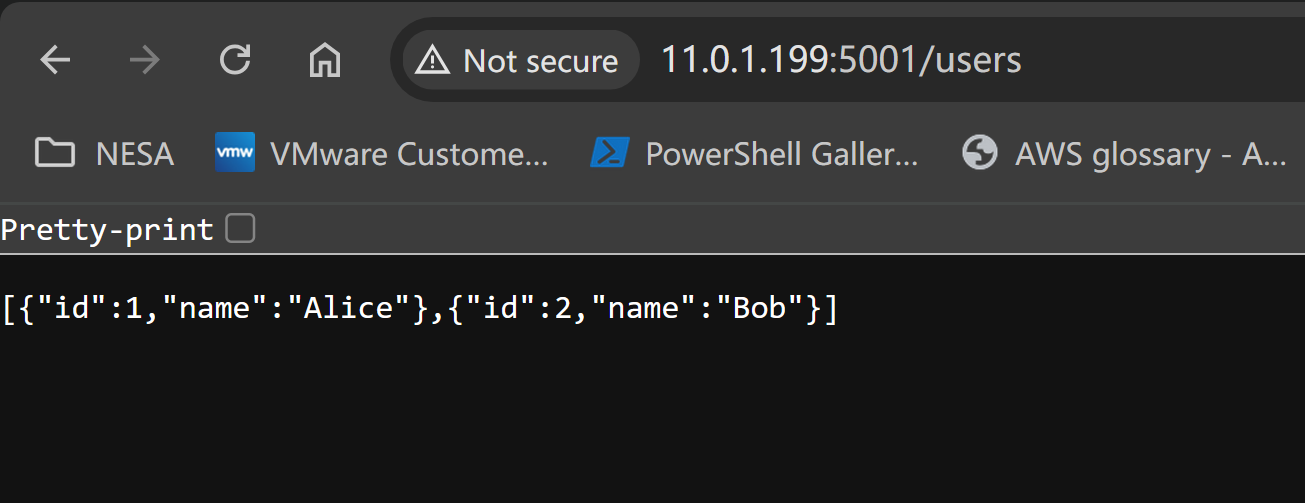
def get_users():
users = [
{'id': 1, 'name': 'Alice'},
{'id': 2, 'name': 'Bob'}
]
return jsonify(users)
if __name__ == '__main__':
app.run(host='0.0.0.0', port=5001)
Create Dockerfile for containerization
Below is the Dockerfile for creating the container for each service:
  # Dockerfile-order

  # Use an official Python runtime as a parent image
  FROM python:3.9-slim

  # Set the working directory in the container
  WORKDIR /app

  # Copy the current directory contents into the container at /app
  COPY order_service.py /app

  # Install any needed packages specified in requirements.txt
  RUN pip install --no-cache-dir flask

  # Make port 5002 available to the world outside this container
  EXPOSE 5002

  # Define environment variable
  ENV FLASK_APP=order_service.py

  # Run order_service.py when the container launches
  CMD ["flask", "run", "--host=0.0.0.0", "--port=5002"]


  # Dockerfile-user

  # Use an official Python runtime as a parent image
  FROM python:3.9-slim

  # Set the working directory in the container
  WORKDIR /app

  # Copy the current directory contents into the container at /app
  COPY user_service.py /app

  # Install any needed packages specified in requirements.txt
  RUN pip install --no-cache-dir flask

  # Make port 5001 available to the world outside this container
  EXPOSE 5001

  # Define environment variable
  ENV FLASK_APP=user_service.py

  # Run order_service.py when the container launches
  CMD ["flask", "run", "--host=0.0.0.0", "--port=5001"]
Build, tag and run it using Docker Compose
  # docker-compose.yml
  version: '3'
  services:
   user-service:
    build:
     context: .
     dockerfile: Dockerfile_user
    ports:
     - "5001:5001"
   order-service:
    build:
     context: .
     dockerfile: Dockerfile_order
    ports:
     - "5002:5002"

  docker-compose up --build

  Creating 02-microservice-docker-compose_user-service_1  ... done
  Creating 02-microservice-docker-compose_order-service_1 ... done
  Attaching to 02-microservice-docker-compose_order-service_1, 02-microservice-docker-compose_user-service_1
  order-service_1  |  * Serving Flask app 'order_service.py'
  order-service_1  |  * Debug mode: off
  order-service_1  | WARNING: This is a development server. Do not use it in a production deployment. Use a production WSGI server instead.
  order-service_1  |  * Running on all addresses (0.0.0.0)
  order-service_1  |  * Running on http://127.0.0.1:5002
  order-service_1  |  * Running on http://192.168.16.3:5002
  order-service_1  | Press CTRL+C to quit
  user-service_1   |  * Serving Flask app 'user_service.py'
  user-service_1   |  * Debug mode: off
  user-service_1   | WARNING: This is a development server. Do not use it in a production deployment. Use a production WSGI server instead.
  user-service_1   |  * Running on all addresses (0.0.0.0)
  user-service_1   |  * Running on http://127.0.0.1:5001
  user-service_1   |  * Running on http://192.168.16.2:5001
  user-service_1   | Press CTRL+C to quit
 Conclusion
Now we can use Python Flask to create a simple web application and containerize it using Dockerfile. In the next post, I will see how to use API Gateway and Consul for more features to this Python application.
====================
====================