
Zack Blog Migration from Jekyll to Django
Key Words: "Django" "Web Development"
I originally used Jekyll, a straightforward static site generator, for my technical blog. It was easy to set up, and ideal for managing content in Markdown. However, as my skills grew, I realized Jekyll was limited by static content, a lack of dynamic features, and the absence of essential tools like a built-in database and user management. That's when I decided to migrate to Django.
Django, with its ability to handle dynamic content and a fully integrated database, offered the perfect solution. It was clear that the migration was the right choice.
The Migration Plan: From Jekyll to Django
Here's how I tackled the migration:
1. Setting Up the Django Environment
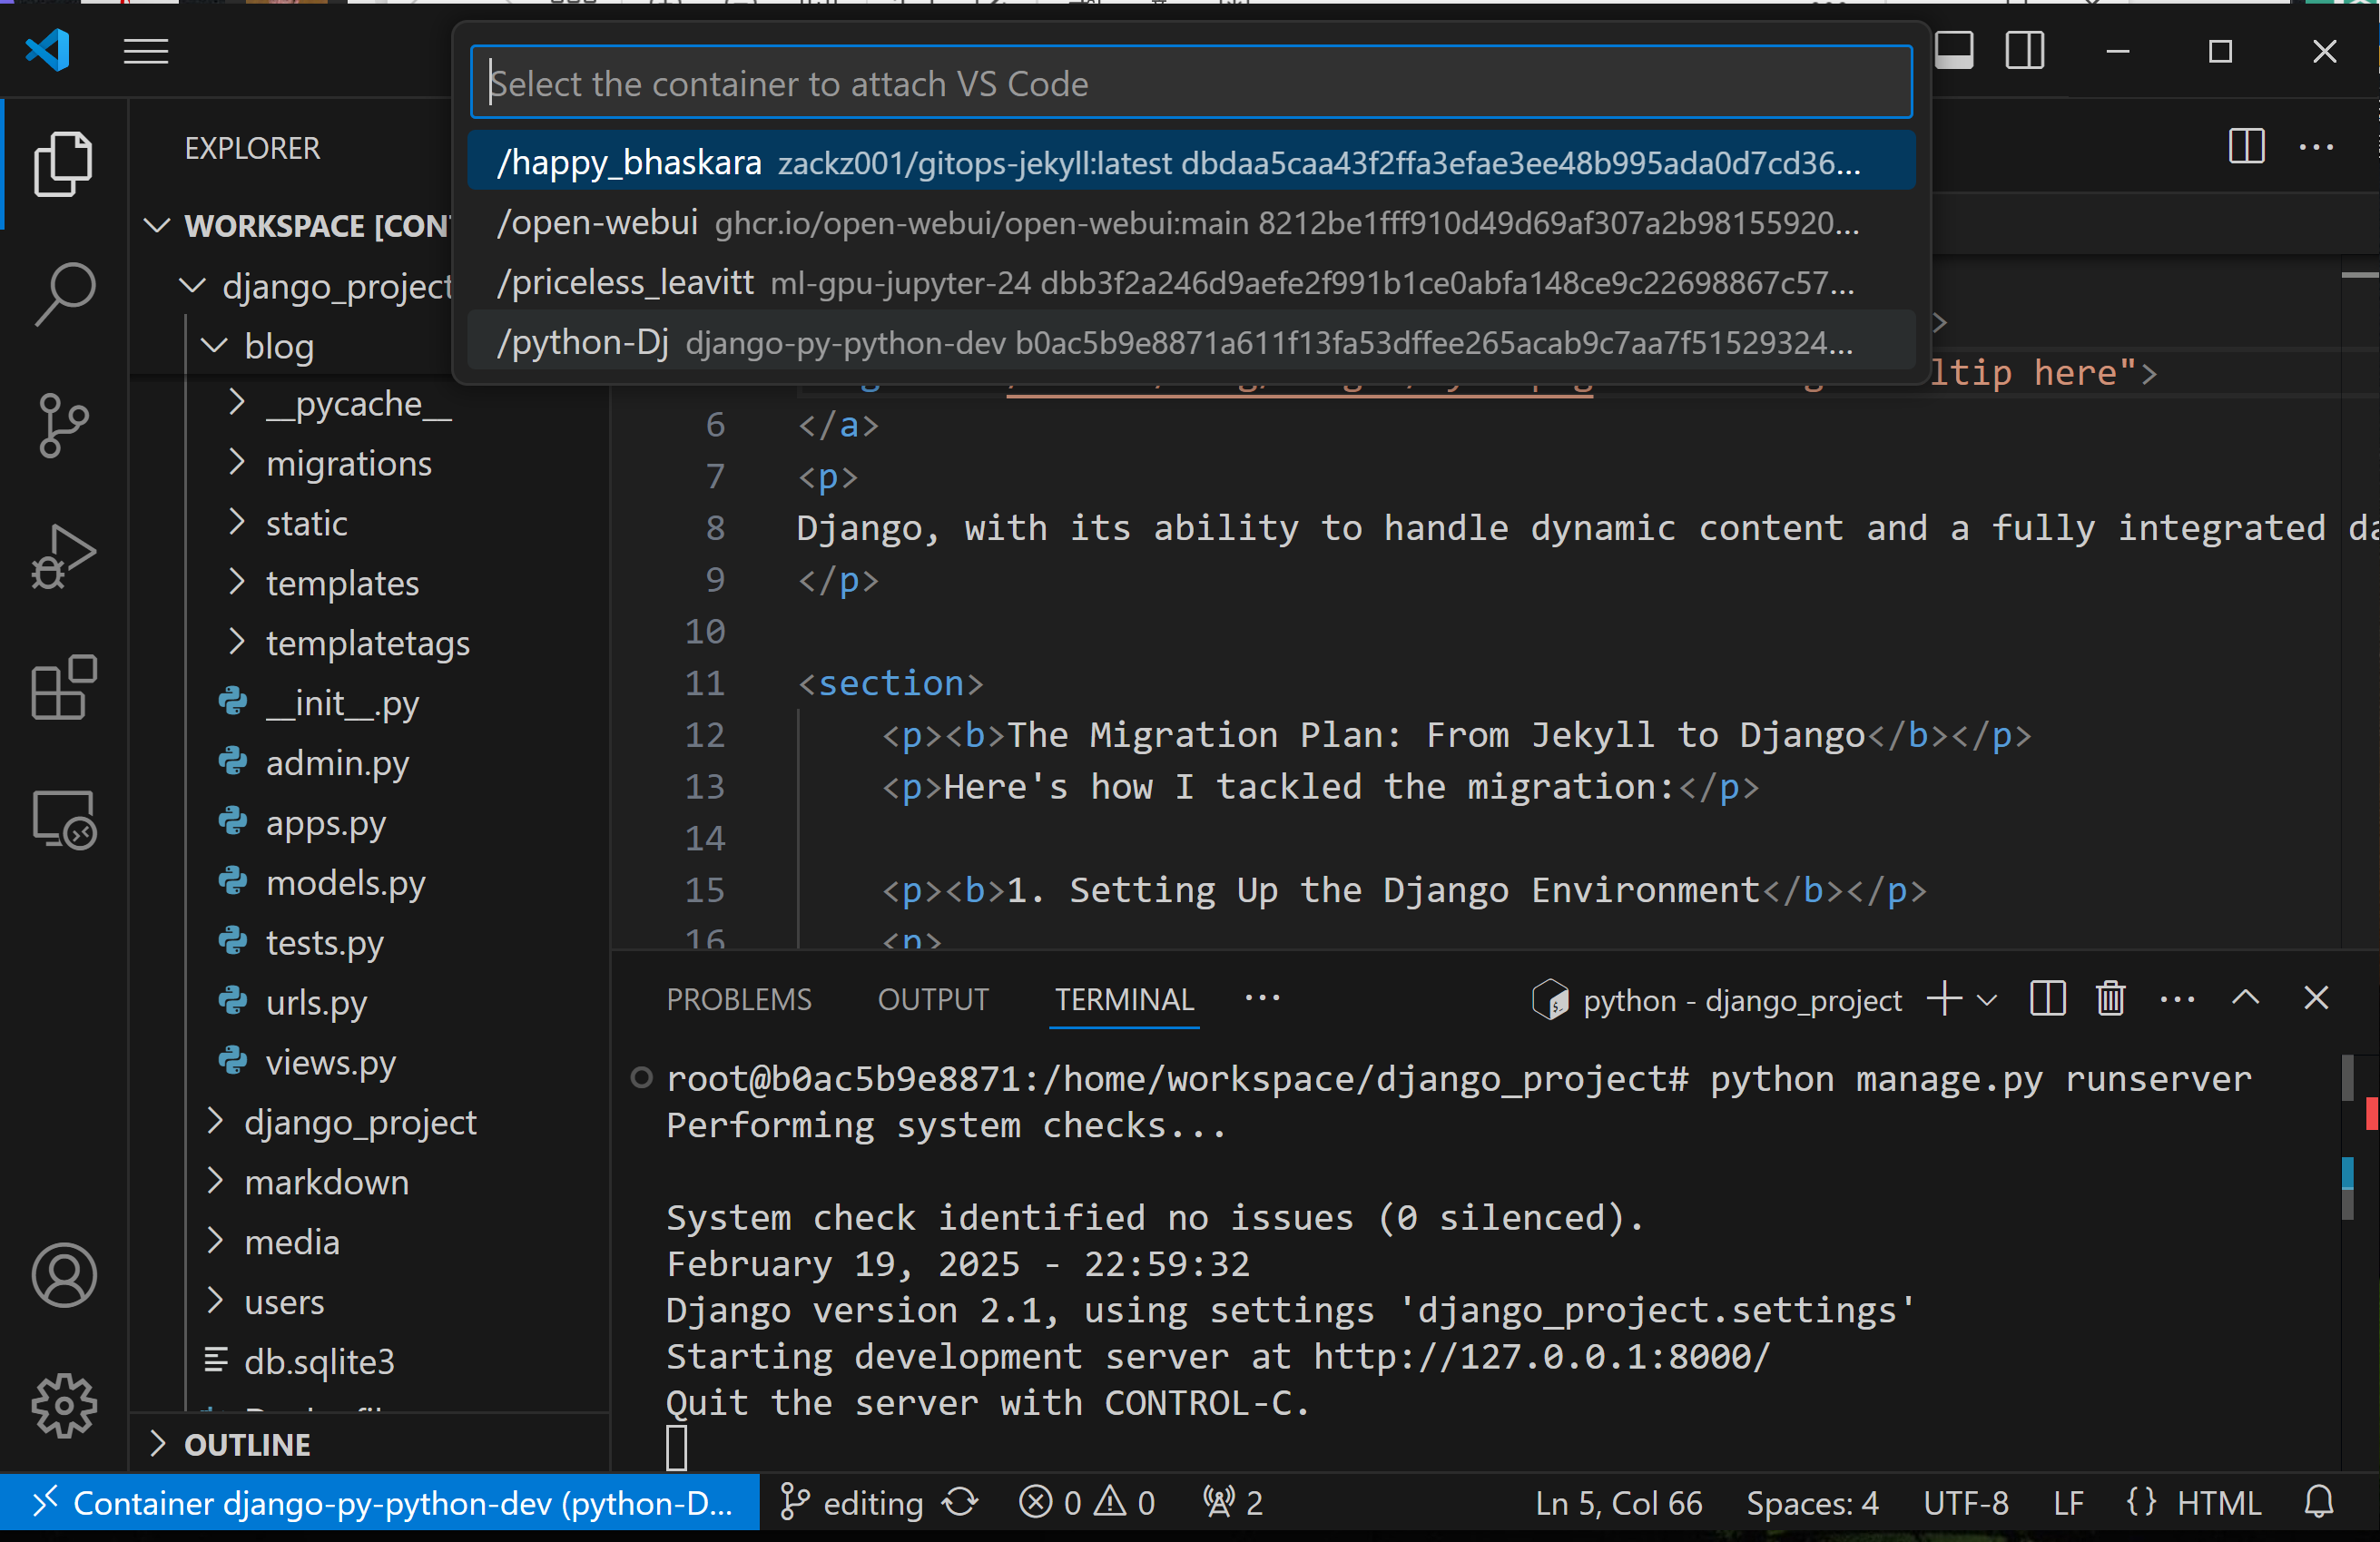
I want to use Docker to set up a portable Python environment, mount the working dir to my git repo, which ensured consistency across multiple platforms and smooth deployment, in VScode, with ctrl+shift+p to launch and choose the container, we are right in the folder.
root@zackz:/mnt/f/python/django-py# cat Dockerfile
FROM python:3.8-slim

WORKDIR /app

# Install system dependencies including AWS CLI requirements
RUN apt-get update && apt-get install -y \
    git \
    libopenjp2-7-dev \
    build-essential \
    zlib1g-dev \
    libjpeg-dev \
    curl \
    unzip \
    && rm -rf /var/lib/apt/lists/*

# Copy requirements and install Python packages
COPY requirements.txt .
RUN pip install --no-cache-dir -r requirements.txt

# Keep container running
CMD ["tail", "-f", "/dev/null"]

root@zackz:/mnt/f/python/django-py# cat docker-compose.yml
version: '3.8'

services:
  python-dev:
    build: .
    volumes:
      - /mnt/f/zack-gitops-project/:/home/workspace
    ports:
      - "8889:8888"
    container_name: python-Dj
    restart: always
    working_dir: /home/workspace
2. Creating the Django Application
Next step is to build a Django application, run the Django web app server, structure the blog posts, user management, and content control within Django’s ORM, converting Jekyll Posts to Django,
3. Cloud Hosting, Domain, and SSL
This time I go and purchas a domain through Cloudflare, configured DNS, and implemented SSL, which finally get rid of previous Godaddy manual renew of free SSL every 3 months.
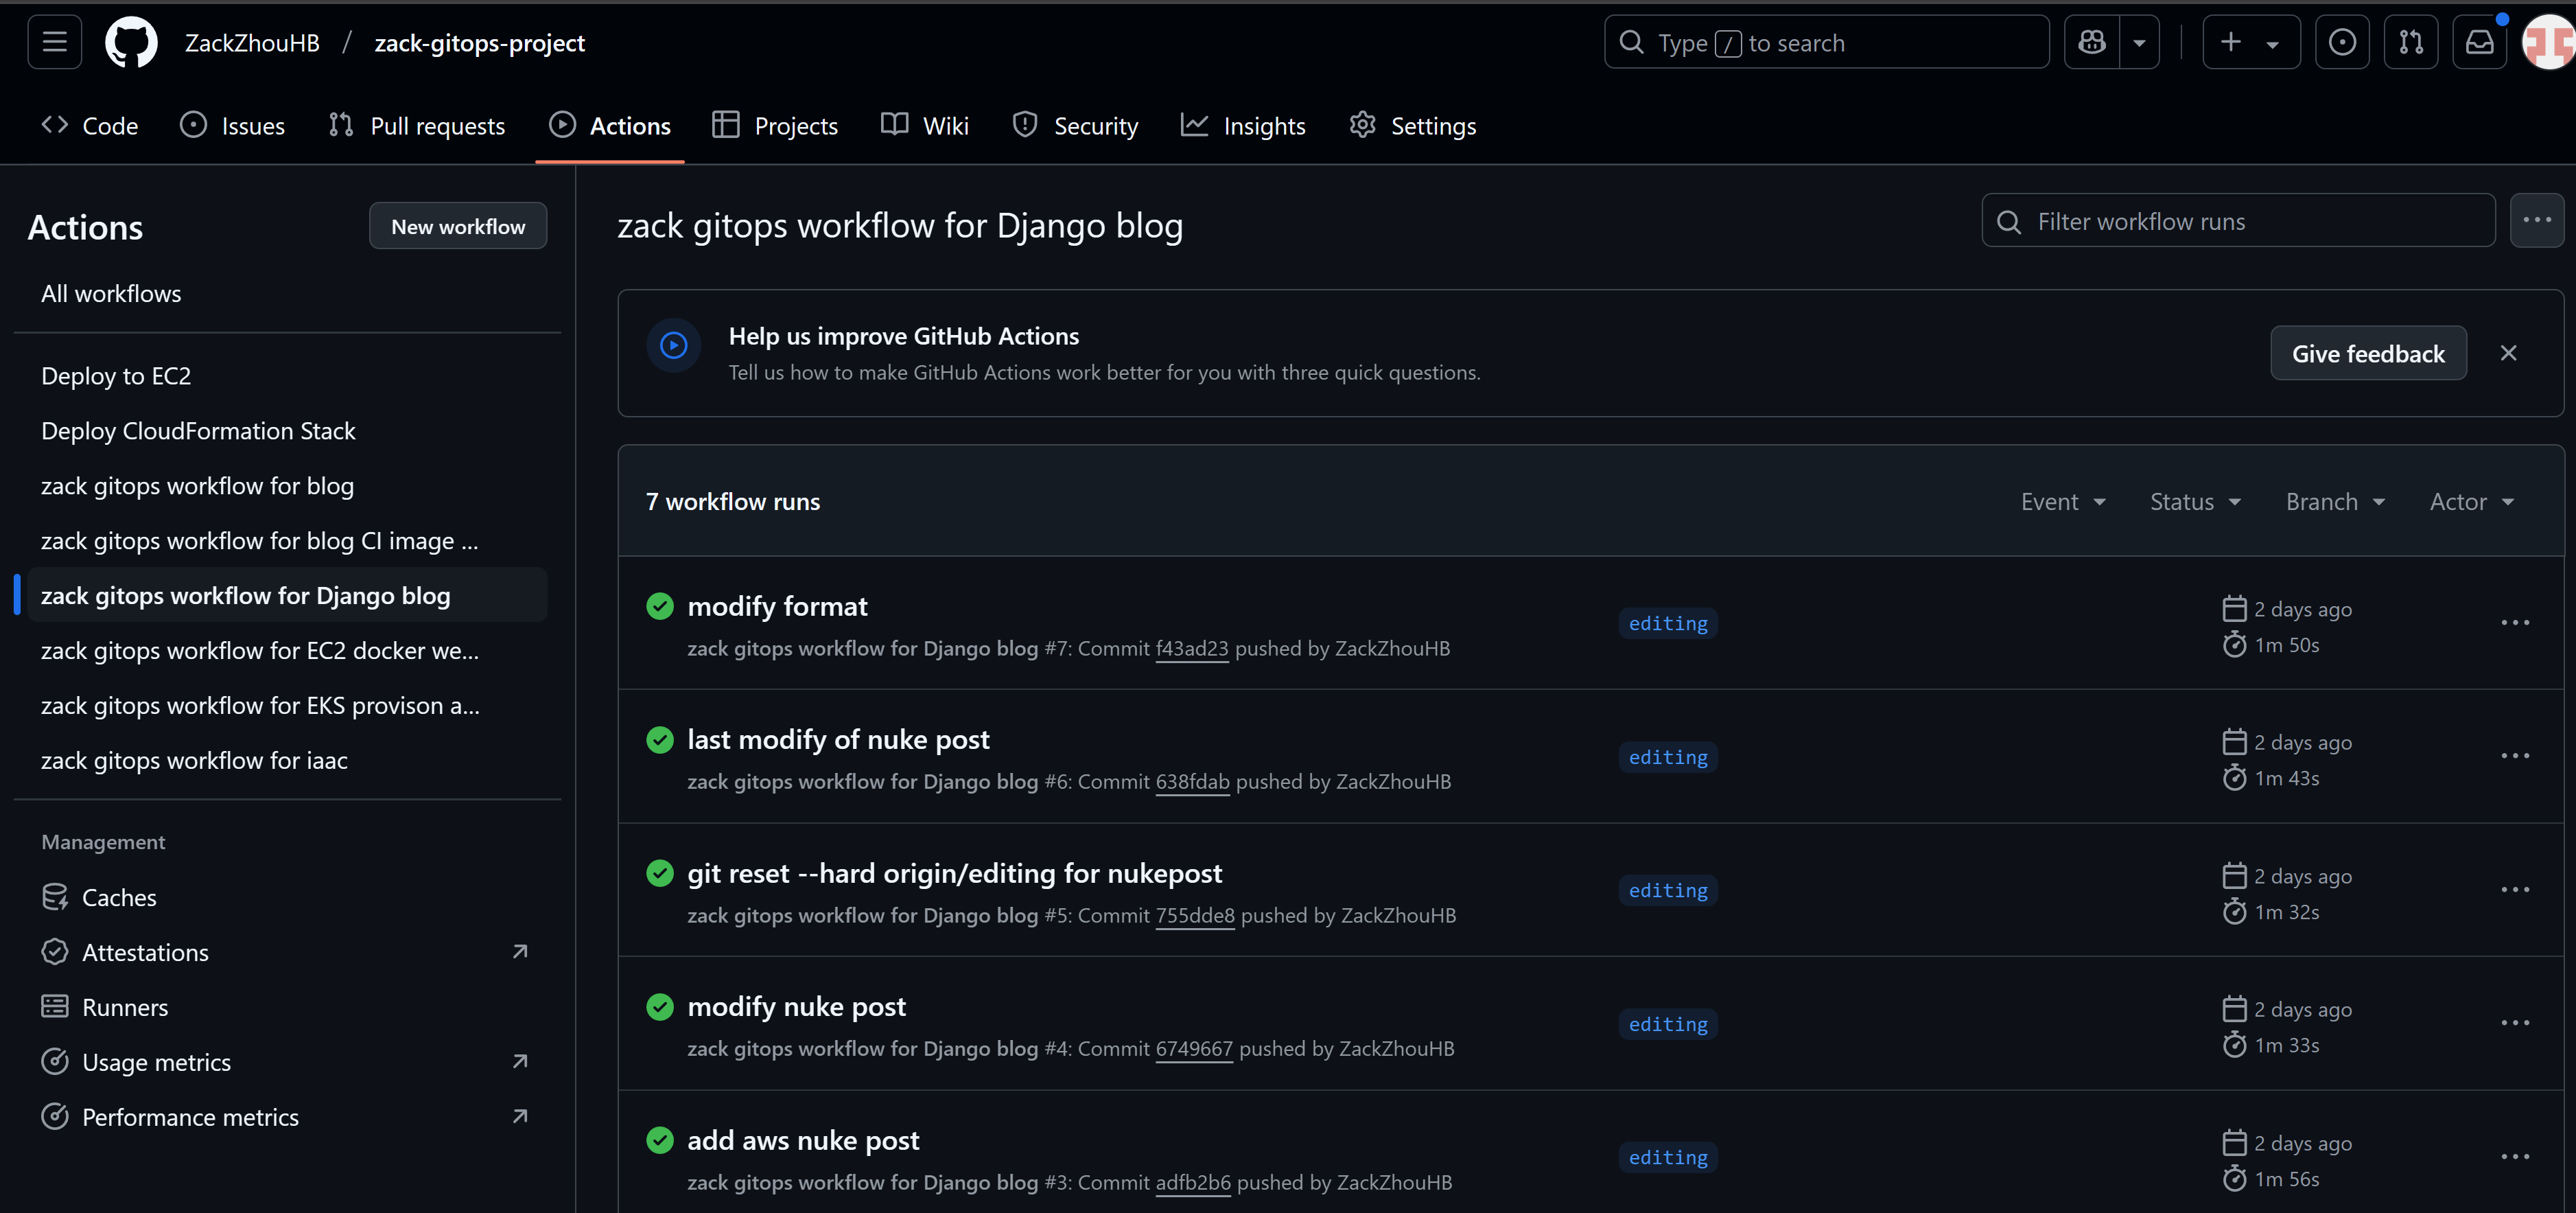
4. Setting Up CI/CD with GitHub Actions
Copy and update the previous GitHub action workflow for Jekyll deployment, set up automation of deployment process for this Django app whenever local change made and pushed to git repo, to fully streamlin the new image build and update the container in the EC2 where we host the application.
name: "zack gitops workflow for Django blog"
on:
push:
    branches:
    - editing
    paths:
    - django_project/**

pull_request:
    branches:
    - main
    paths:
    - django_project/**

env:
AWS_ACCESS_KEY_ID: ${{ secrets.AWS_ACCESS_KEY_ID }}
AWS_SECRET_ACCESS_KEY: ${{ secrets.AWS_SECRET_ACCESS_KEY }}

DOCKERHUB_TOKEN: ${{ secrets.DOCKERHUB_TOKEN }}
DOCKERHUB_USERNAME: ${{ secrets.DOCKERHUB_USERNAME }}

SSH_PRIVATE_KEY: ${{ secrets.SSH_PRIVATE_KEY }}
HOST_NAME: ${{secrets.HOST_NAME}}
USER_NAME: ${{secrets.USER_NAME}}


jobs:
terraform:
    name: "Zackweb image build CI pipeline"
    runs-on: ubuntu-latest
    defaults:
    run:
        shell: bash
        working-directory: ./django_project

    steps:
    - name: SCM checkout
        uses: actions/checkout@v3

    - name: Login to Docker Hub
        uses: docker/login-action@v3
        with:
        username: ${{ secrets.DOCKERHUB_USERNAME }}
        password: ${{ secrets.DOCKERHUB_TOKEN }}
      - name: Set up Docker Buildx
        uses: docker/setup-buildx-action@v1

      - name: Build Docker image
        run: |
          IMAGE_NAME=zackz001/zackblog-django
          docker buildx create --use
          docker buildx inspect --bootstrap
          docker build -t zackz001/zackblog-django:test .
          docker tag zackz001/zackblog-django:test zackz001/zackblog-django:v9${{ github.run_number }}  # Replace with your desired tag
          docker tag zackz001/zackblog-django:v9${{ github.run_number }} zackz001/zackblog-django:latest

      - name: Push Docker image newer build
        run: docker push zackz001/zackblog-django:v9${{ github.run_number }}

      - name: Push Docker image latest
        run: docker push zackz001/zackblog-django:latest

      - name: Configure AWS cli on runners
        uses: aws-actions/setup-sam@v2
        with:
          use-installer: true

      - name: Configure AWS Credentials
        uses: aws-actions/configure-aws-credentials@v2
        with:
          aws-access-key-id: ${{ secrets.AWS_ACCESS_KEY_ID }}
          aws-secret-access-key: ${{ secrets.AWS_SECRET_ACCESS_KEY }}
          aws-region: ap-southeast-2

      - name: Executing remote ssh commands using ssh key
        uses: appleboy/ssh-action@master
        with:
          host: ${{secrets.HOST_NAME}}
          username: ${{secrets.USER_NAME}}
          key: ${{ secrets.SSH_PRIVATE_KEY }}
          script: |
            cd ~/zack-gitops-project
            git pull
            # Check if the container is running
            if docker ps -q -f name=django-blog-container; then
              echo "Stopping and removing existing container..."
              sudo docker stop django-blog-container
              sudo docker rm django-blog-container
            else
              echo "No running container found for django-blog-container"
            fi
            sudo docker pull zackz001/zackblog-django:v9${{ github.run_number }}
            sudo docker stop django-blog-container || true
            sudo docker rm django-blog-container || true
            sudo docker run -d --name django-blog-container -p 80:8000 zackz001/zackblog-django:v9${{ github.run_number }}
Achievements and Reflections
Here's a brief summary of the tasks I had done:
- Web Development: Improved and deepen the Django web framework and Python skill.
- Database Management: Gained expertise in using Django’s ORM.
- Containerization: Create a portable and consistent development environment with docker and Python.
- Cloud Hosting & SSL: Configure DNS and SSL in CloudFlare to get rid of Godaddy and the annoying 3 months free ssl renew.
- CI/CD: Replicate existing GitHub Actions and adjust for Django blog.
Conclusion
Migrating from Jekyll to Django wasn’t just about solving a technical problem—it was a demonstration of best DevOps practices. The journey was insightful, and I enjoyed the debugging challenges. It reaffirmed the importance of using the right tools for the job.